I have always been keenly fascinated by the German Tiger Tanks for as long as I can remember. As there are only about 6x of the Tiger-I in complete condition left in the world today, from approx 1335 that were built during the war, and as I used to make detailed models, and liked to create things, I started to make a few 1/1 scale ‘replicas’ of various components from the Tiger-I. Back in 1989 I had a long trip away and visited many museums around the world. The highlights being the time spent in and on the Tiger at Bovington, the Tiger at Saumur, and the Tiger in Vimoutiers. Alas the Tiger at Aberdeen/USA was in transit when I was there and so missed on seeing it!
As I live in New Zealand, such trips are very few and far between because of the costs and distances involved!
Anyway by now I had discovered the internet and was able to gather most of the basic plans, and I was also inspired by a friend in the USA who had built a wonderful 1/1 full size replica of an American Tank-all from mostly wood. Another inspiration for me was a good friend who some years ago had commissioned a 1/1 scale “front end” of a German StuG III assault gun vehicle. I made some basic components, and we gave her a good weathering paint job. It really looked the part, and it’s a shame it no longer exists anymore! There where other things that also inspired me too, but basically I just like to be creative, and want to own a Tigerpanzer!
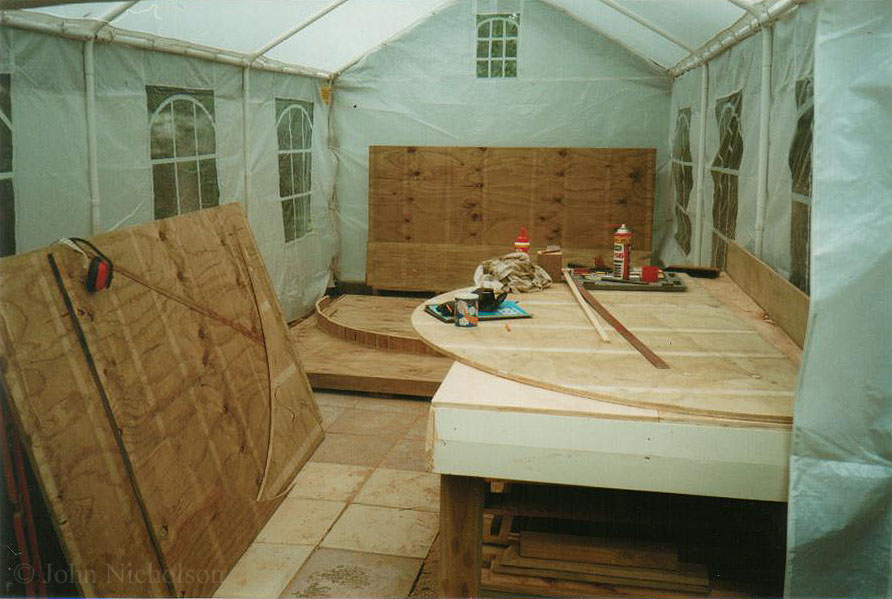
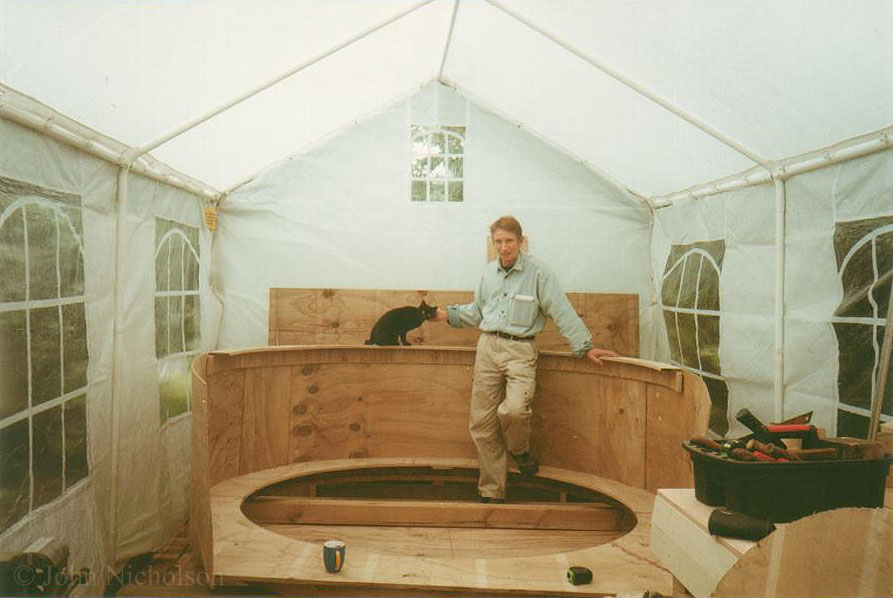
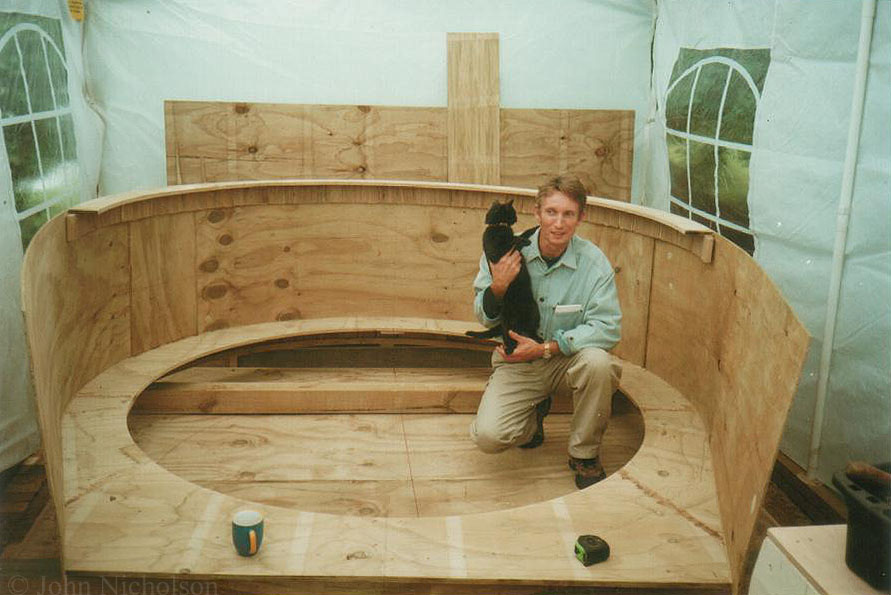
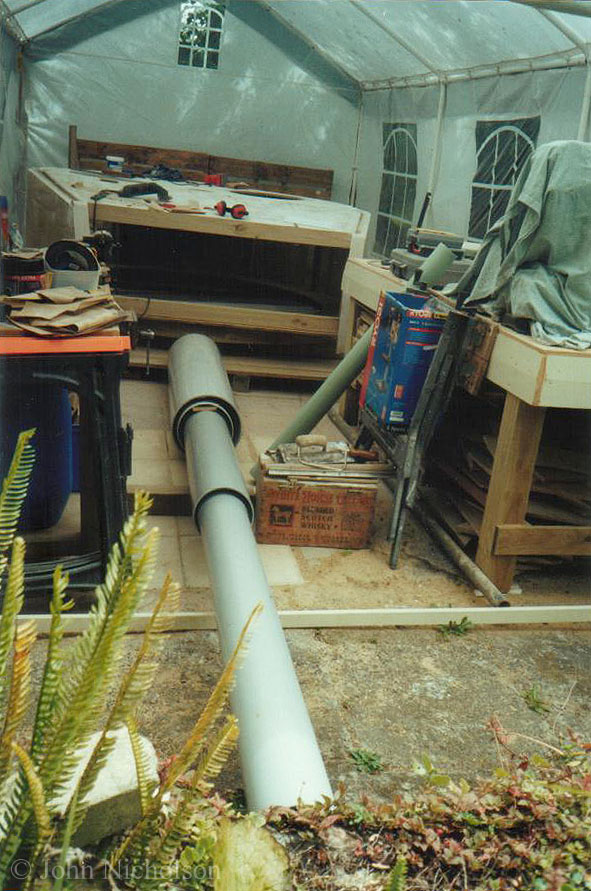
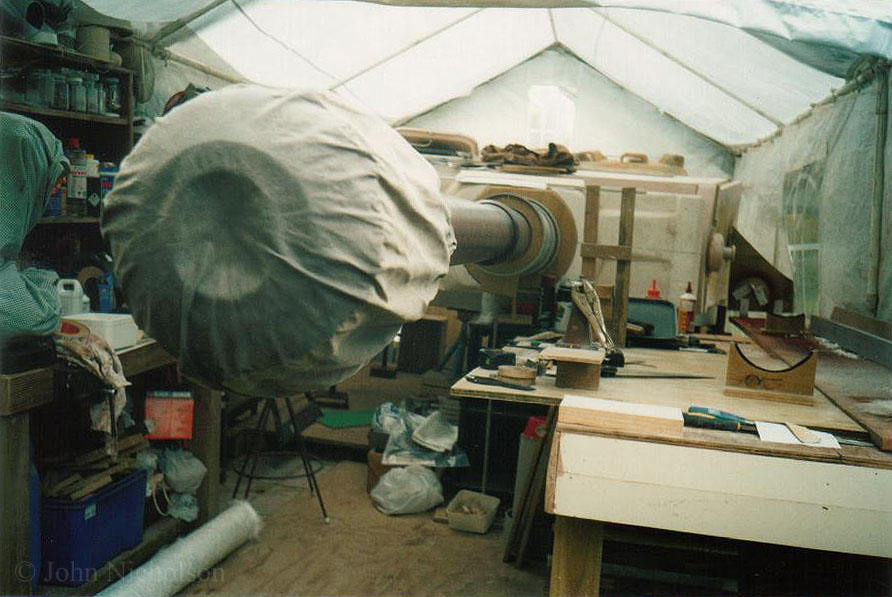
In very late 2004, after having to dig-out an area in my backyard and pave this I then had to buy and erect a structure to build the turret in. As money was tight I went for a 6mx3m tent, that was only designed as a temporary structure-designed for weddings and parties. But I managed to keep the damned thing going for 2x years. I had to replace the roof though as it caved-in during a storm once! Then a wooden platform was built to make the turret on.
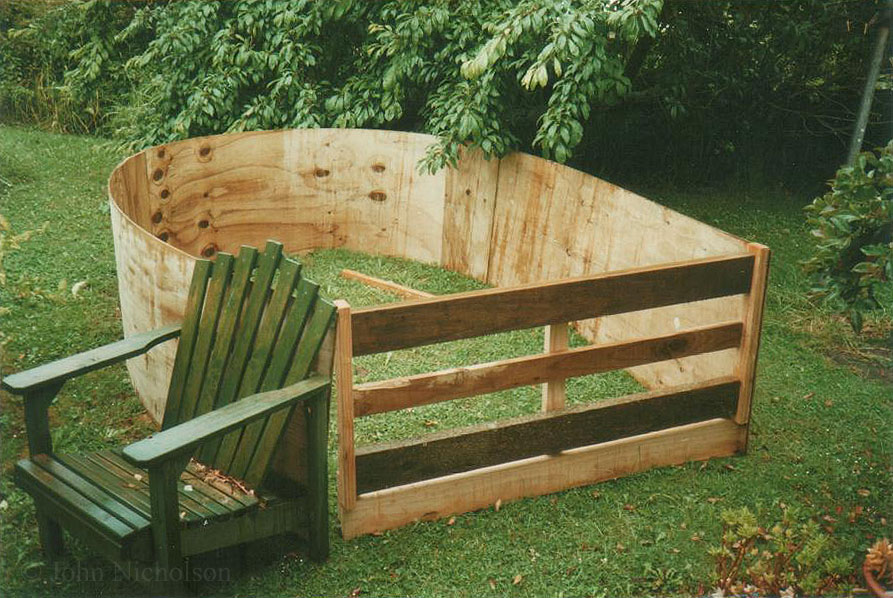
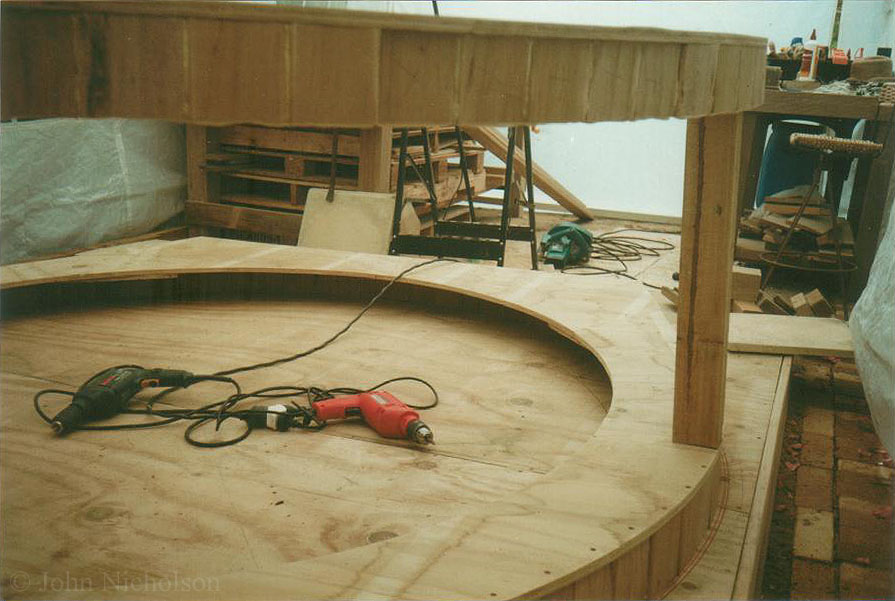
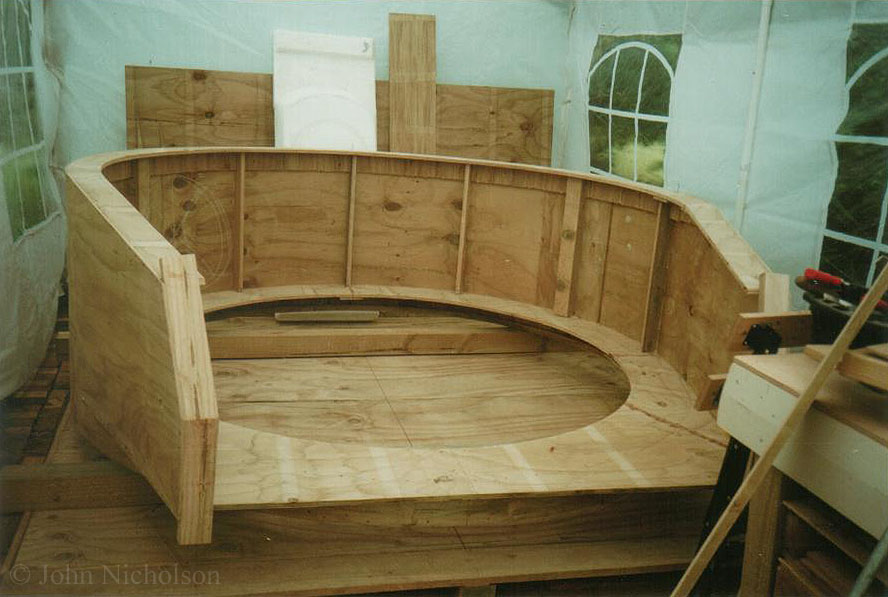
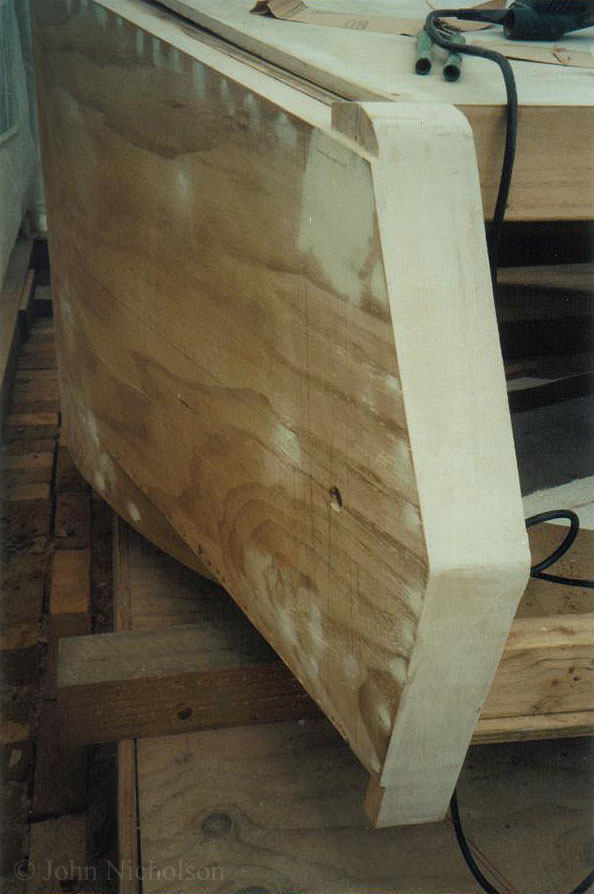
Following this and a great deal of thinking and planning, I cut 3x sheets of thin plywood, 7mm thick. Cut down to 815mm wide and strongly glued and screwed them together. Once set lots of boiling water was poured over them, and the task of slowly bending them into a large, long horseshoe was begun a bit a time. Once they were near to approx shape, I made a wooden frame to secure the two ends together. When this had all dried it was placed in the tent-from my lawn where I had to do this big job. They equalled about 7.2 m long!
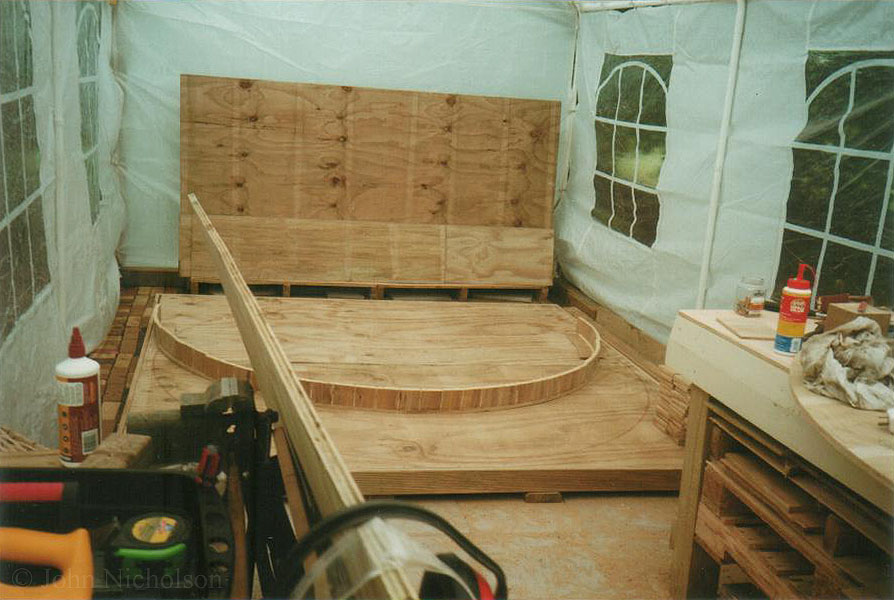
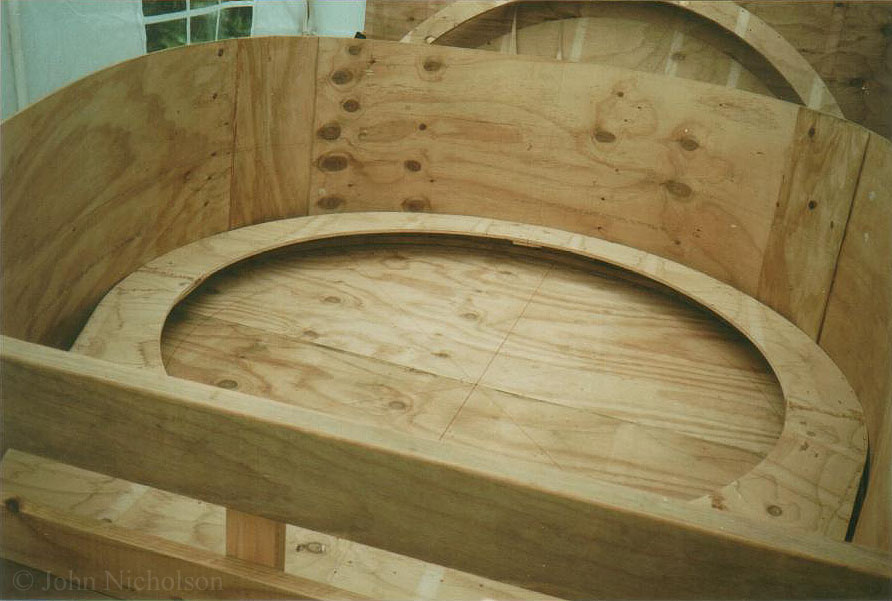
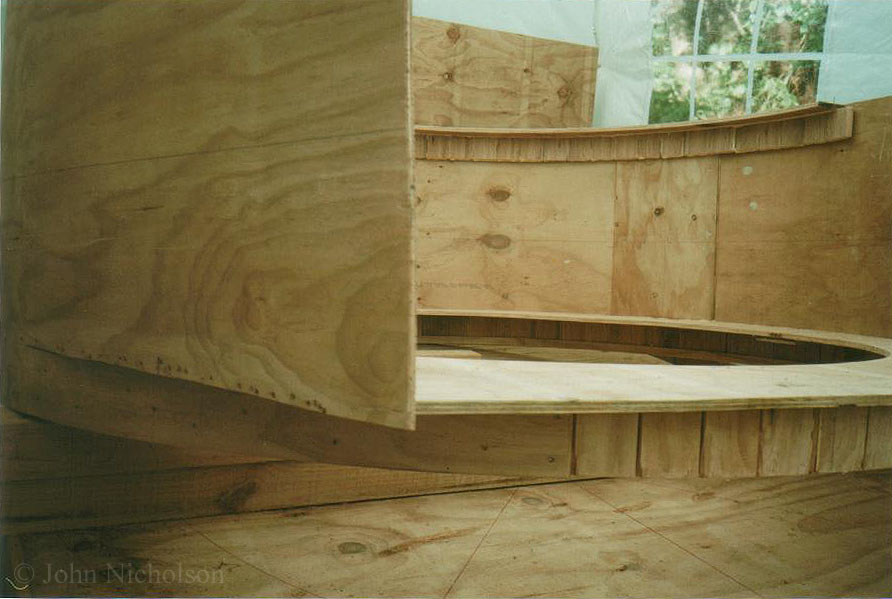
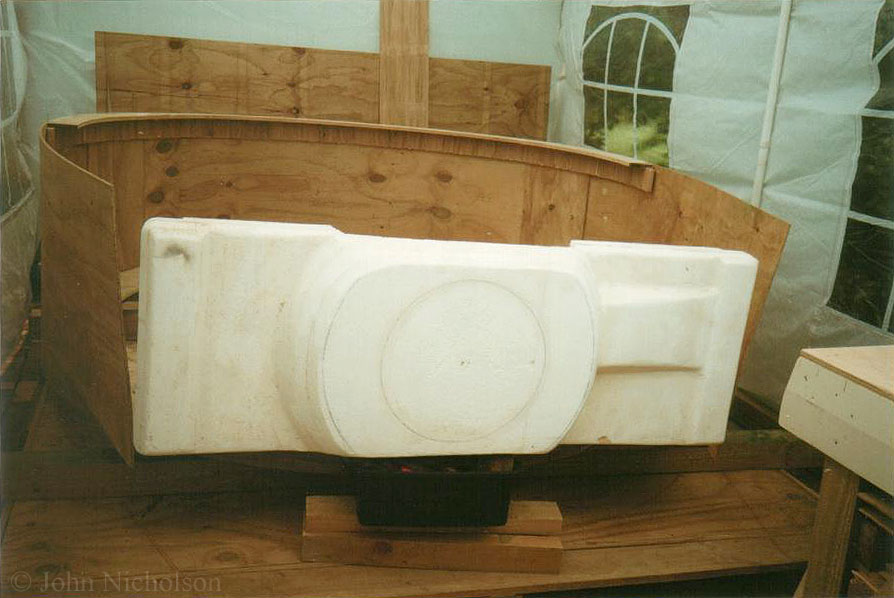
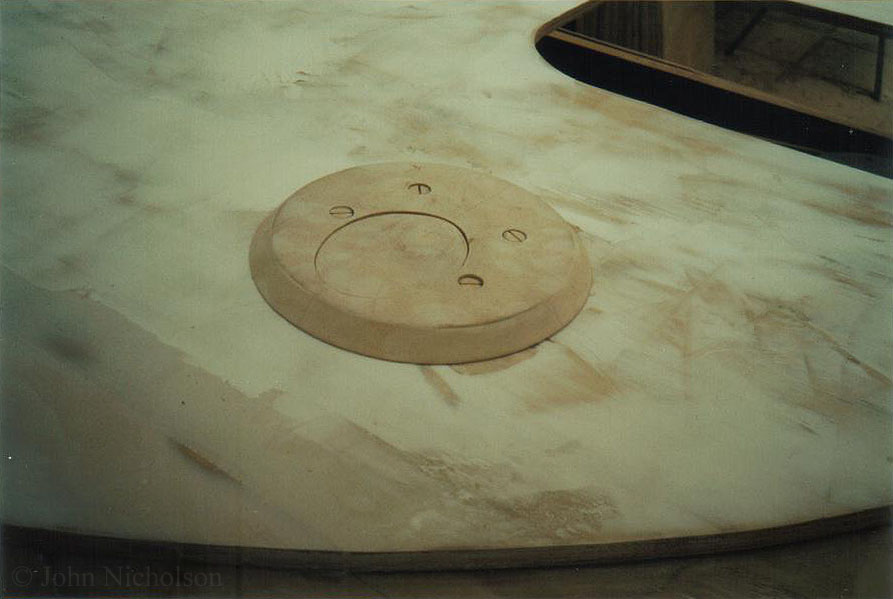
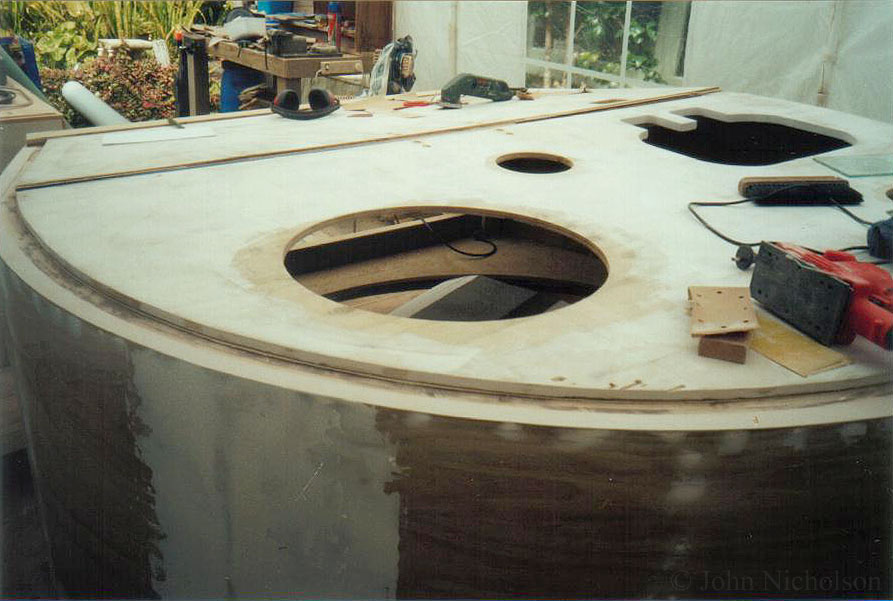
Next I begun to make the curved sections that would attach to the bottom inside turret walls, by cutting short strips and gluing them onto a marked-out circle on the base.
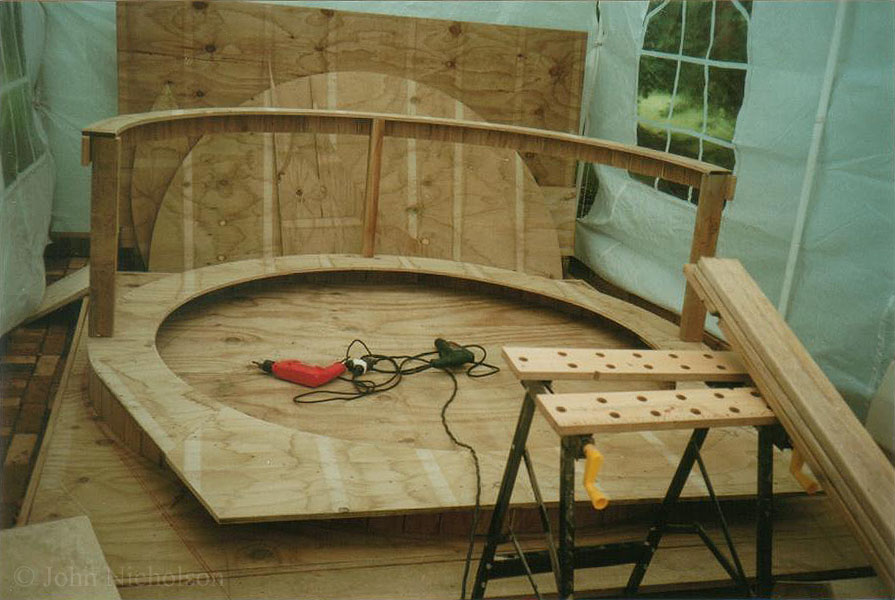
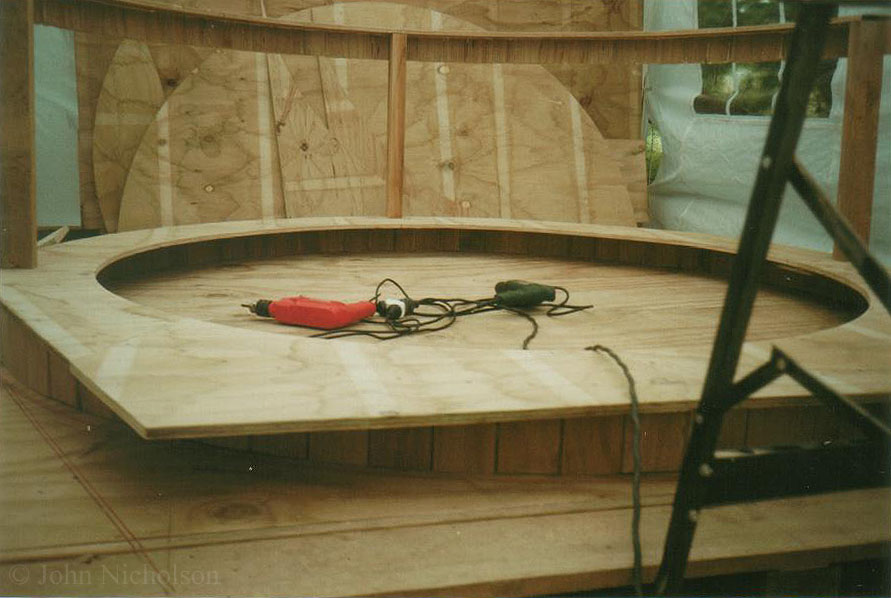
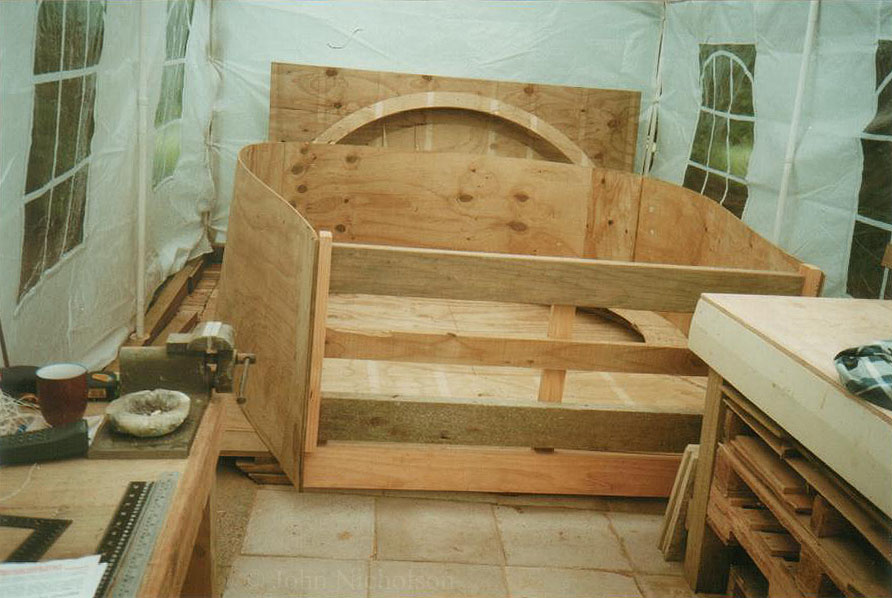
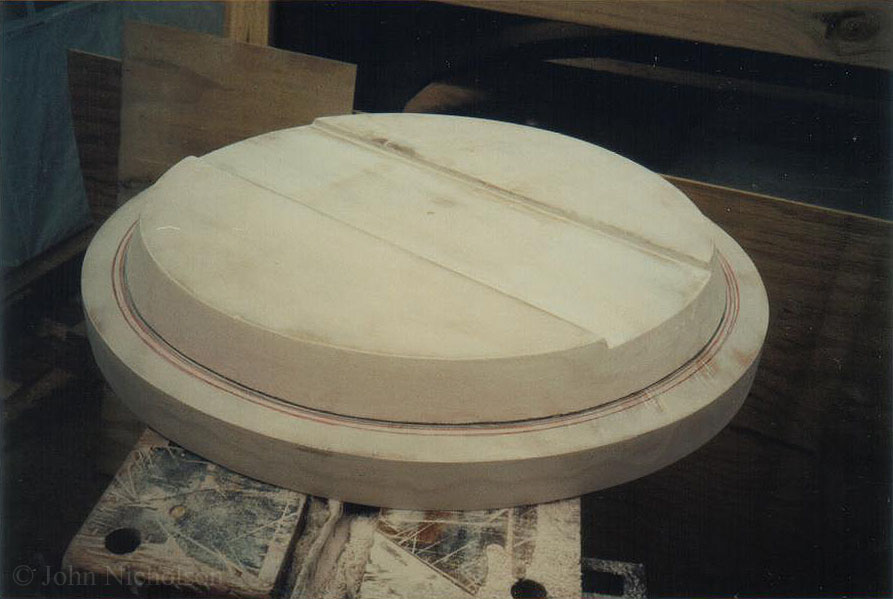
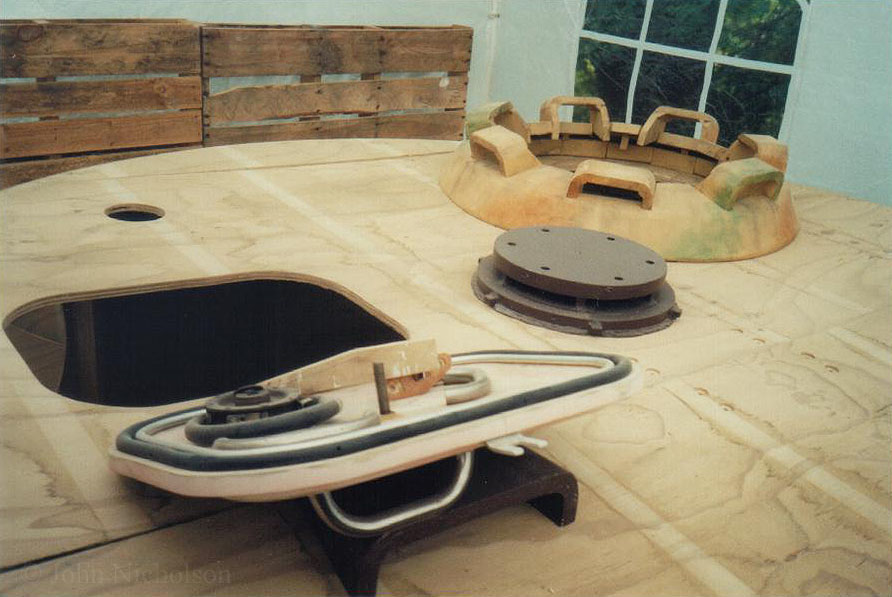
Then the large disc that sits above the turret race was made from ply and added, and also supports for the tops of the walls for the roof, and also struts/framing added to the inside walls, so that later when lined the walls would be the correct 80mm thickness.
The above took me some months by myself, as I was only able to spend part time on this, as my damned full-time job would usually get the best of my time!
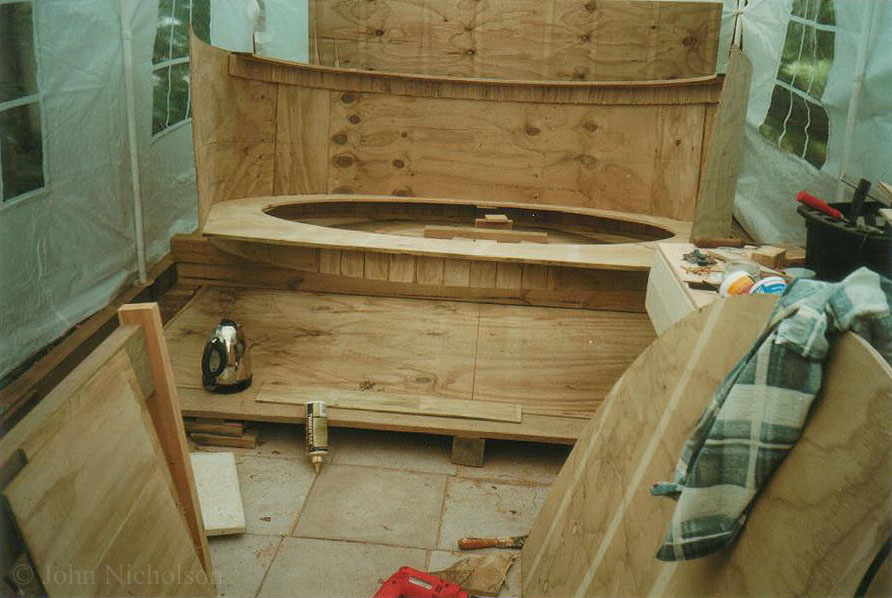
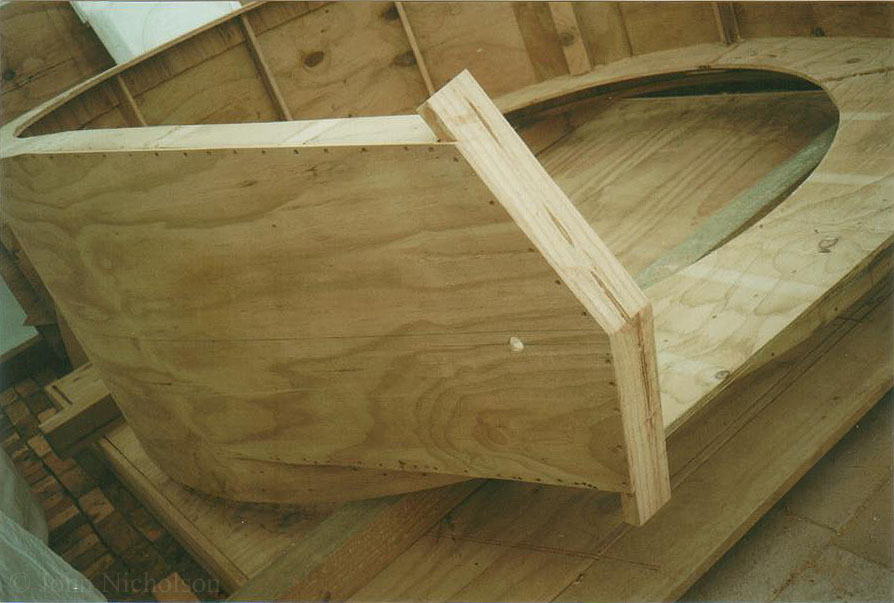
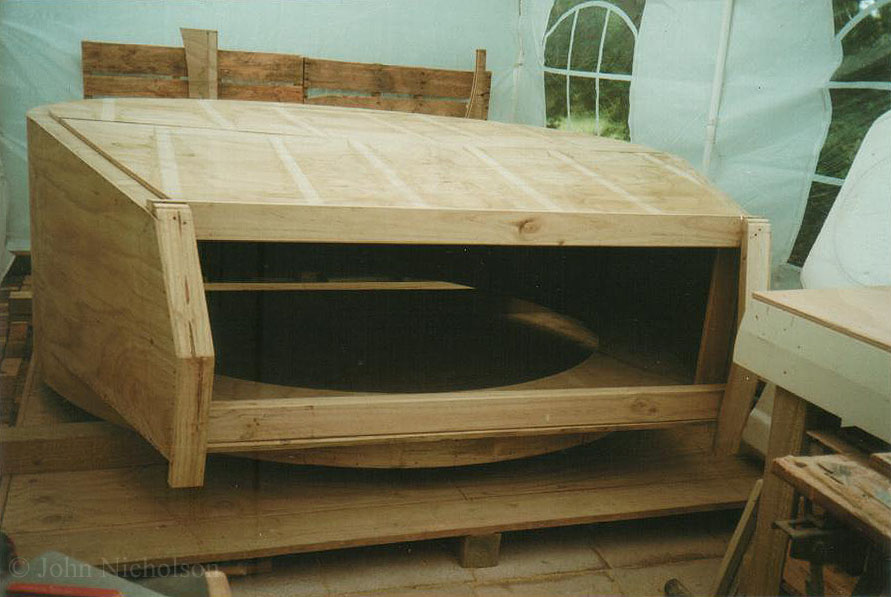
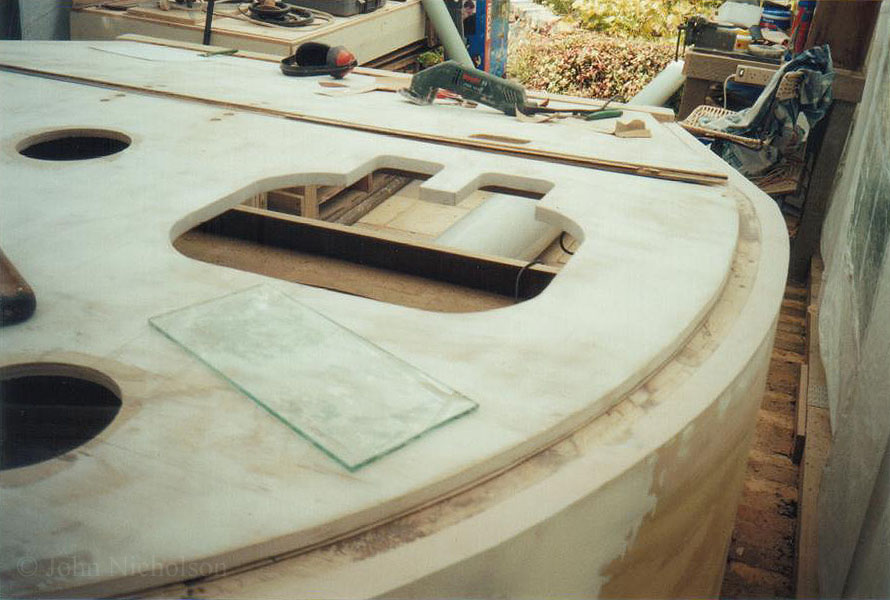
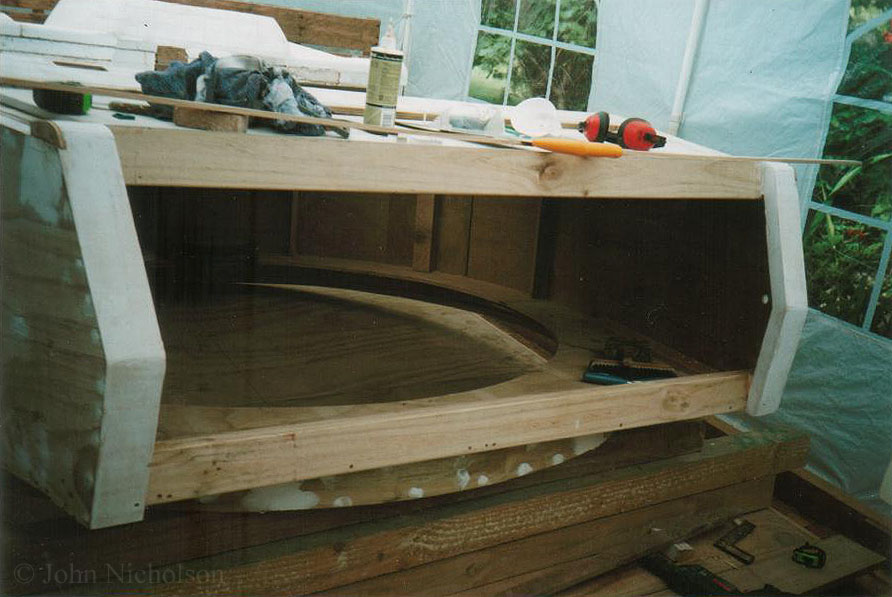
Anyway following this I figured out the angles of the ends of the front opening and strengthened all this area, and focussed on levelling up and making everything as true and strong as I could. For the roof, which I wanted to be for the late-type with the 40mm roof, I first had a frame of angle-iron steel welded up. Then inside I added 9mm sheets of ply, the angled steel, and used ply and polystyrene between the gaps and then rebated the top sheets of 15mm ply to house the steel. All up this gave me the correct 40mm and hardly any movement when standing on the roof!
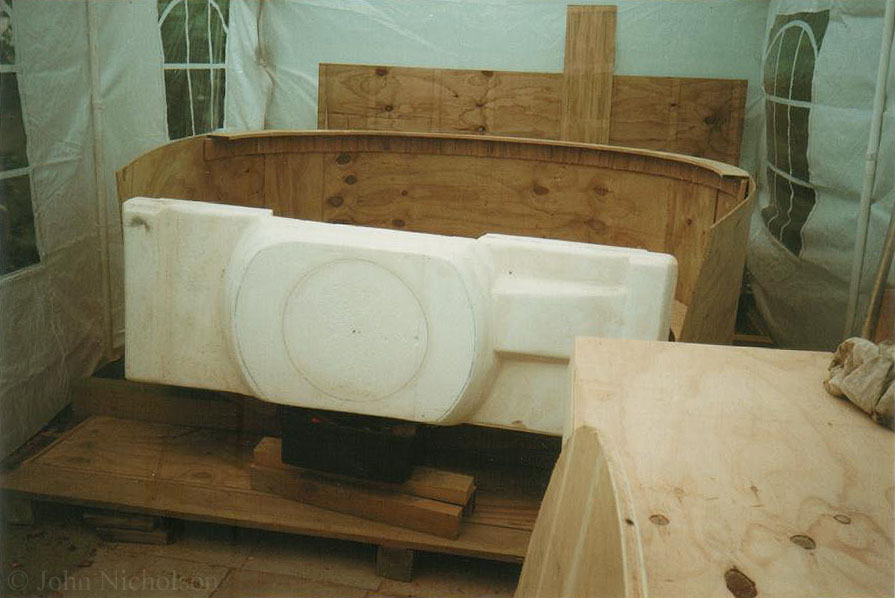
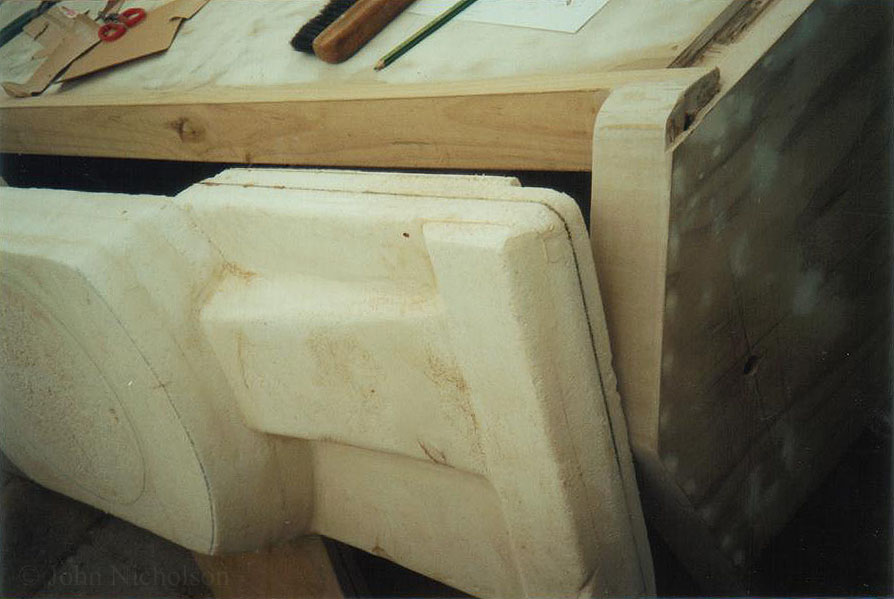
The walls were also lined with styrene between the support frames and then lined with ply, to give the correct 80mm thickness.
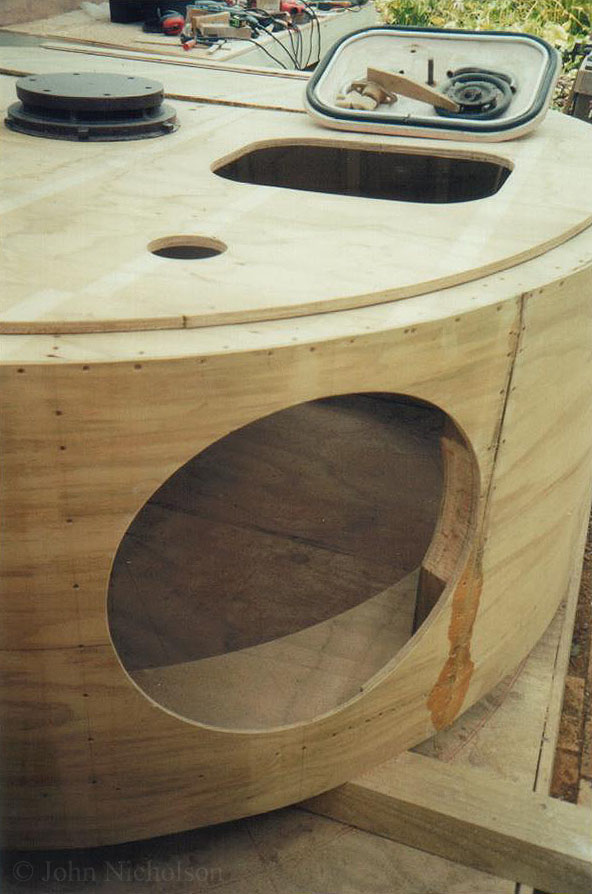
I made the 3x lifting lugs with steel cores so that the whole turret could be lifted by them as the originals were. The 2x front pivots for the gun-mantel were also made of steel. The brackets to support the rear bin are heavy aluminium.
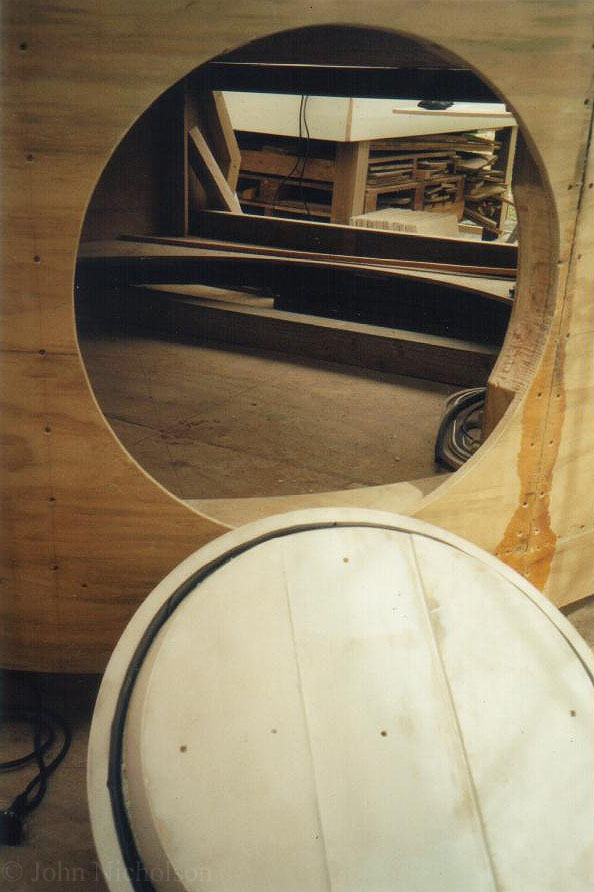
The 2x side vision discs were a challenge, but I was able to make the correct tapered slots that are of various sizes from ply. So far I have made several weld-beads by using a ‘no more nails’ glue that comes in long tubes, and texturing it while its still wet, but I may try another product yet for them…
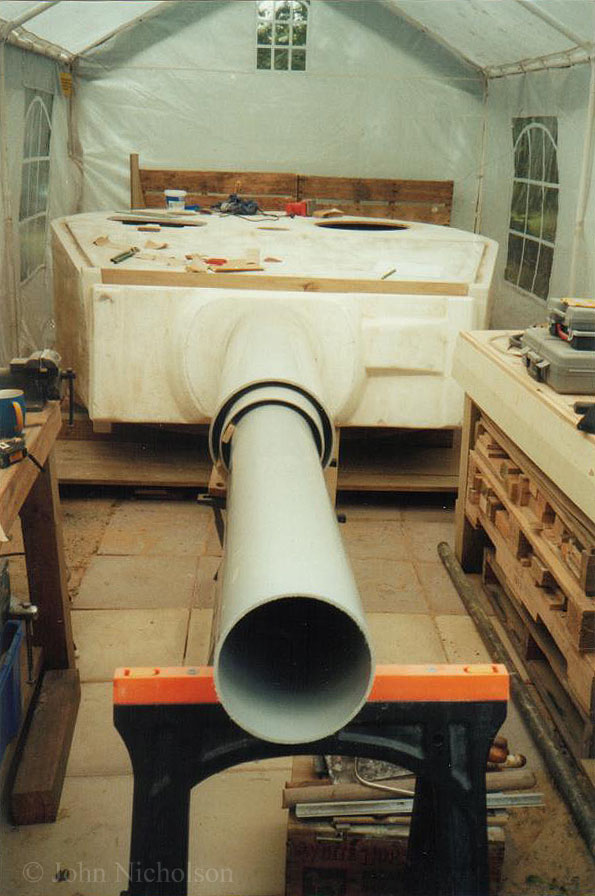
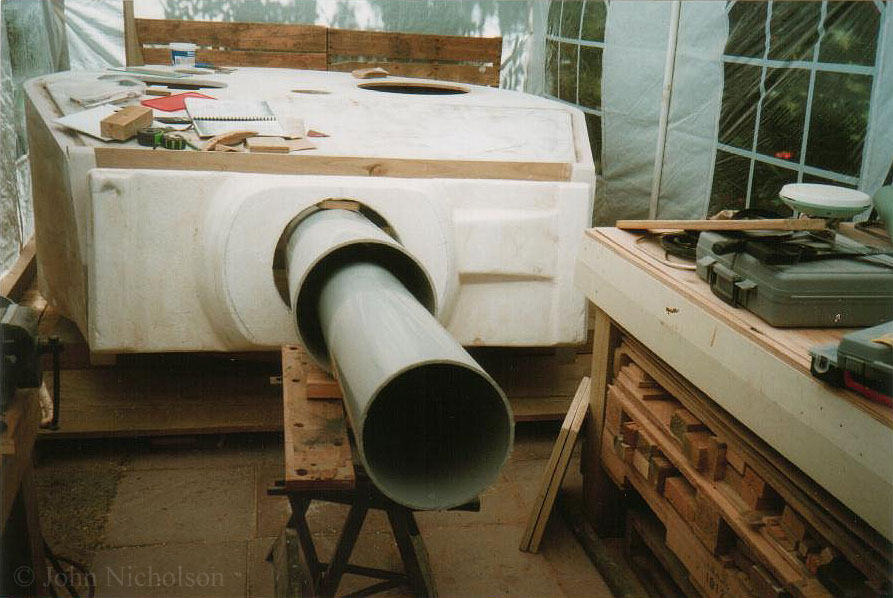
Of course a Tiger turret is no good without that big 88 sticking out in front. So I tacked that by using several different diameter heavy plastic storm water pipes. The biggest challenge was that tapered front section of the barrel. I had to make a complete framework of ply and struts of wood for the inside, along with several steel struts, as I wanted it not to bend, and also I wanted to have the centre hollow so that I could add a 88mm core so one could look down the barrel! I was able to carefully cut a long strip out the length of the front tapered section, and with a lot of work re- glue and brace the curve back together, so that the barrel is tapered.
Hopefully later I will be able to simulate the recoil also, as I have made a series of rollers that sit inside the large mantel tube………
There are many other components I have yet to describe how I made, and even more that are not yet made in this ‘on-going hobby’. But I am able to find the time-mostly, and am still very passionate about the Tigerpanzer, so hopefully one day she will be complete!
Although I have many of the dimensions, there are still many that I do not have, and so the research continues…
I must make a very special mention to Mr. David Byrden. Without his excellent knowledge, and his wonderful internet site, I could never have been able to achieve what I have so far. His expertise regarding the dimensions of the Tiger have been a real asset..... Thanks David!
I would also like to gratefully thank my friend, the author of this site, Rob Veenendaal for all his kind help, knowledge, and allowing me to share this project with him and to produce this record for others to see. Thanks Rob!
To all the Kiwis, and others who kindly helped, including my buddy Ron, and my very- dear, patient wife and family too..... thanks for helping me fulfil my dream!