The Eva Project, p2 1:1 scale Tiger1 turret
Basics »
Tiger E »
Driving
Serials
Vorpanzer
Ice-cleats
Walk around Tiger E
Tiger B »
Bump-stops
Walk around Tiger B
Equipment »
Jack variants
Jack 10t
Jack 15t
Jack 20tl
Jack 20ts
Model 1:1 scale »
Turret 01
Turret 02
Turret 03
Turret 04
Turret 05
Turret 06
Turret 07
Turret 08
Turret 09
Turret 10
Turret 11
Turret 12
Resources »
French drawings
Per Sonnervik »
The archive
Drawings »
Drawings
Tiger E
Tiger B part 1
Tiger B part 2
Tiger B part 3
Jagdtiger
Photo albums
Your browser does not support JavaScript!
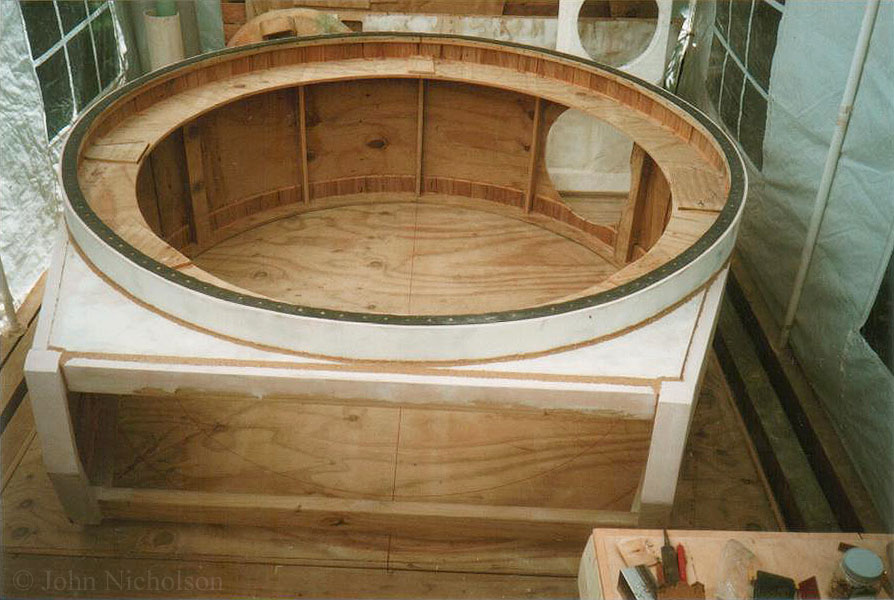
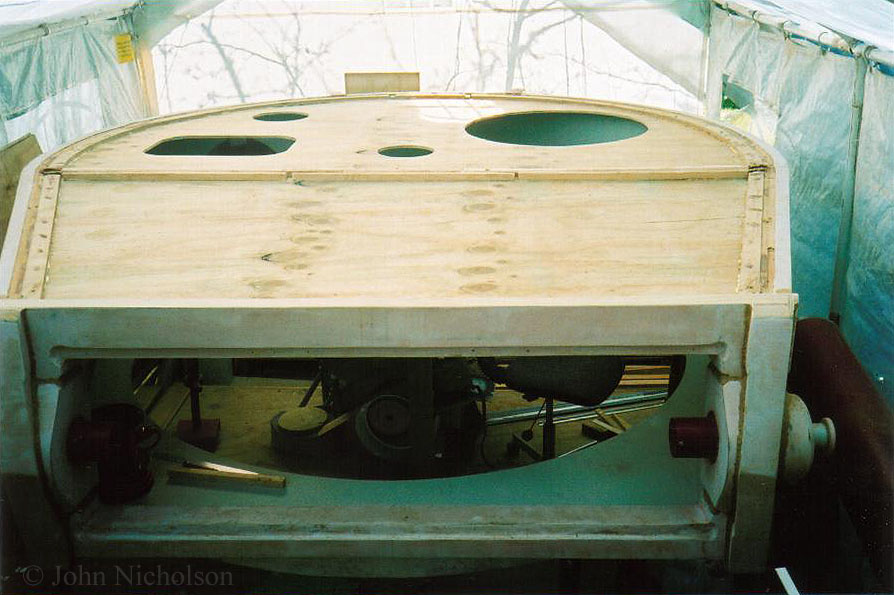
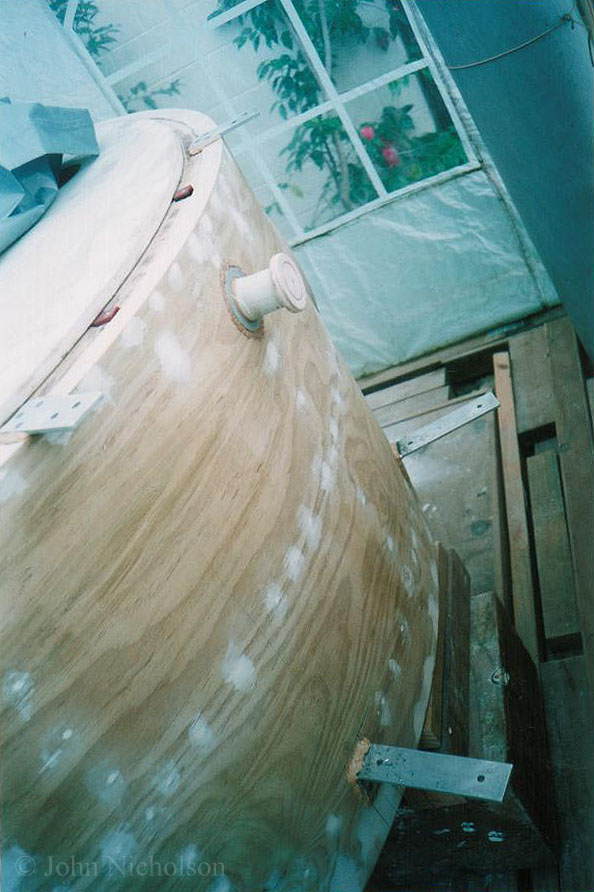
37 - The turret was flipped-over to work on the bottom.
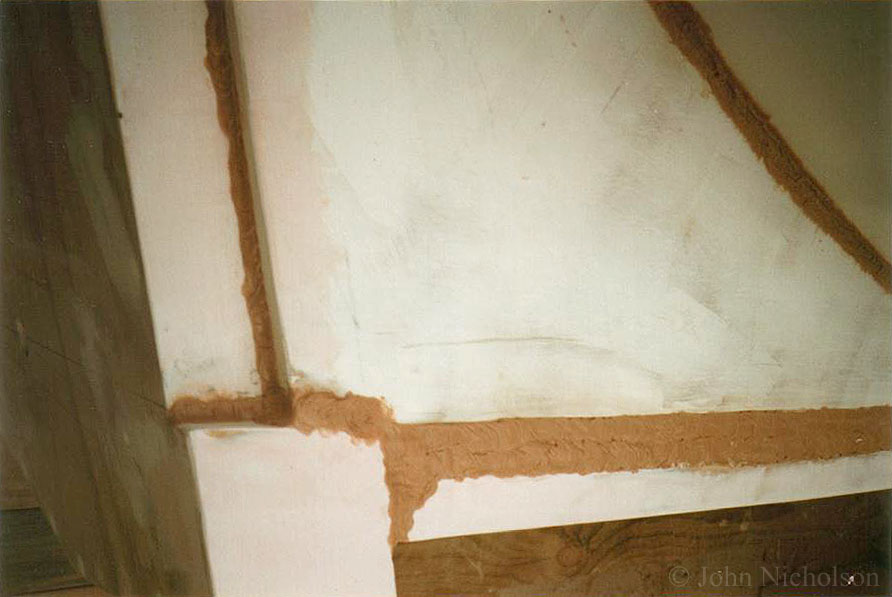
38 - Weld-beads were added, and later extra ply to increase these plates to the correct thickness.
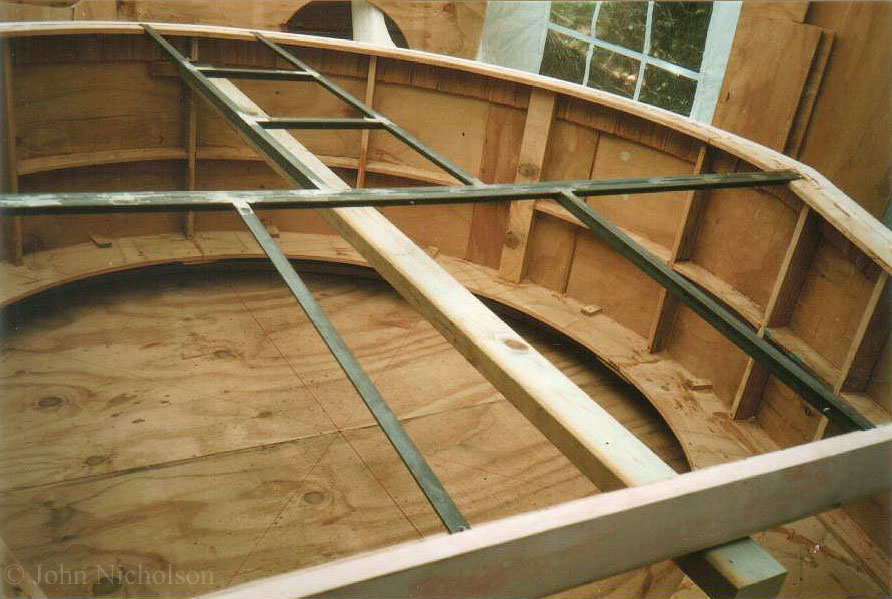
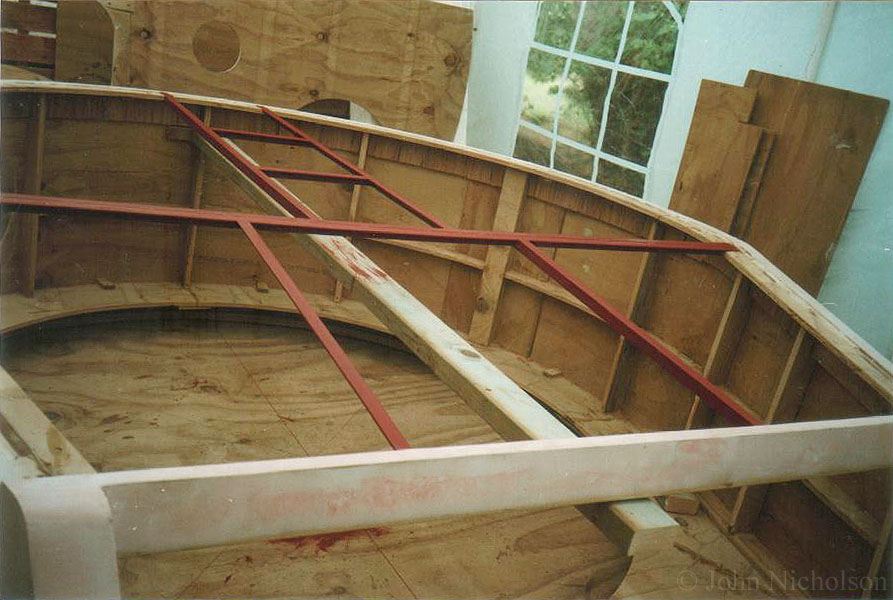
39 - Angle-iron was welded to form the frame for the roof.
40
41 - Iron in place and primed.
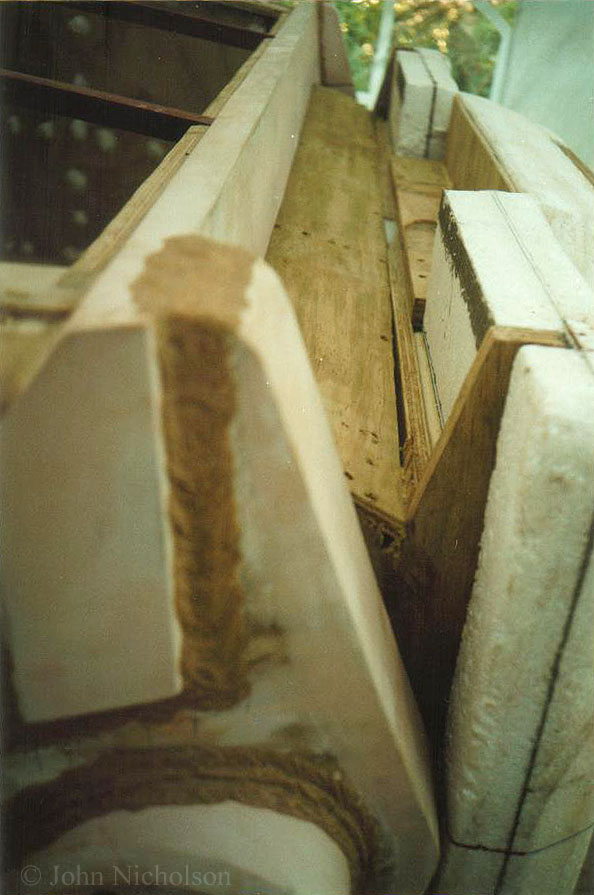
42 - When lined, the walls will give me the correct 80mm thickness.
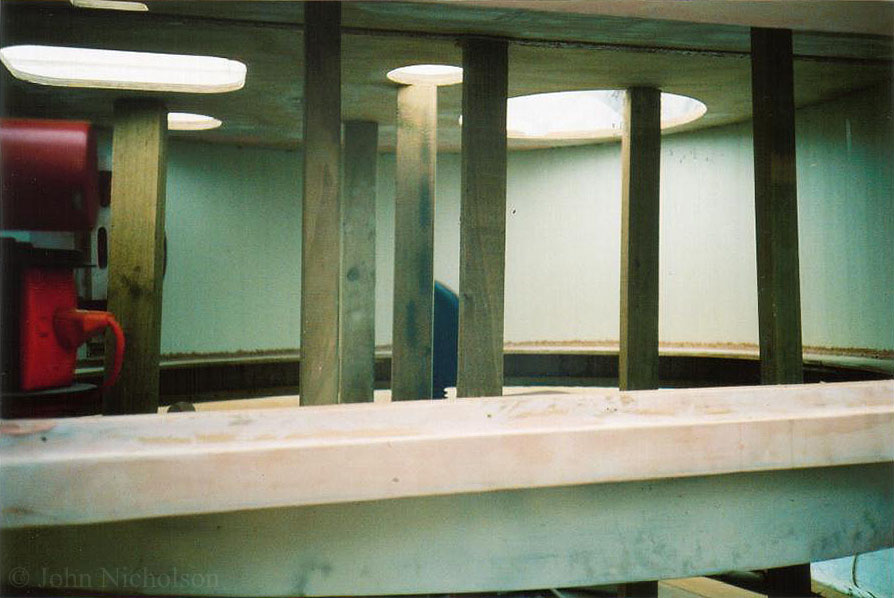
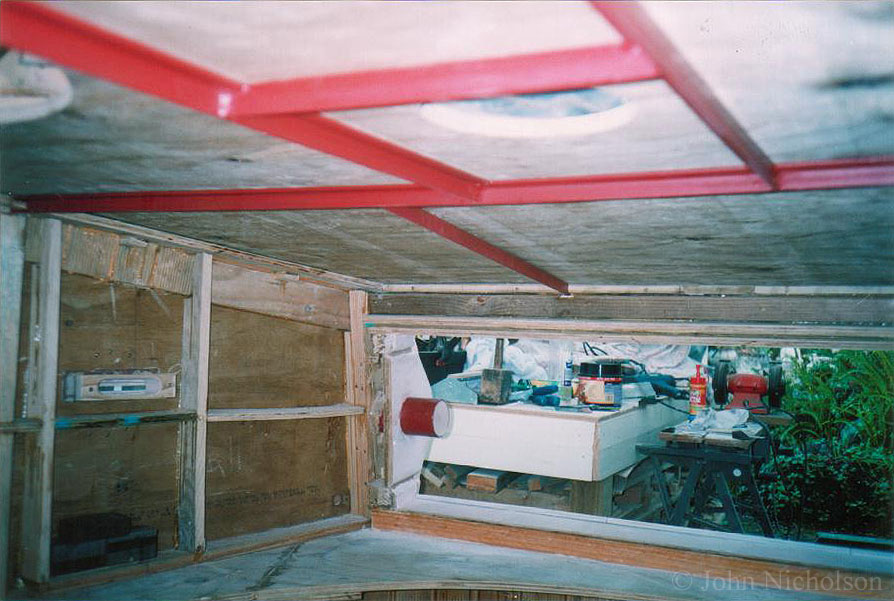
107 - The roofs steel-frame, made from equal-angle iron.
106 - Temporary struts to support the roof while it sets.
105 - The top roof-plate shown upside down, with rebates to fit the steel frame into.
64
84
108 - Gaps between are filled with ply and polystyrene.
48
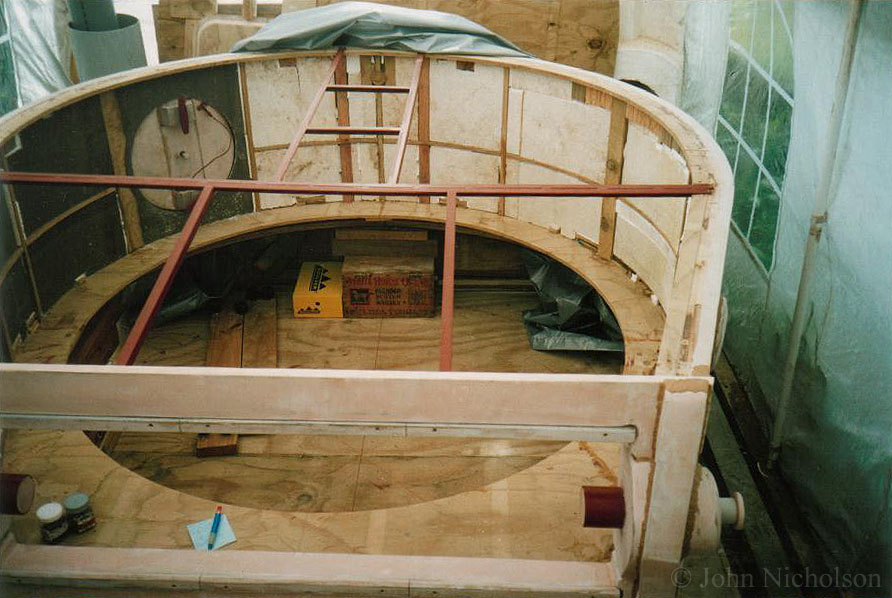
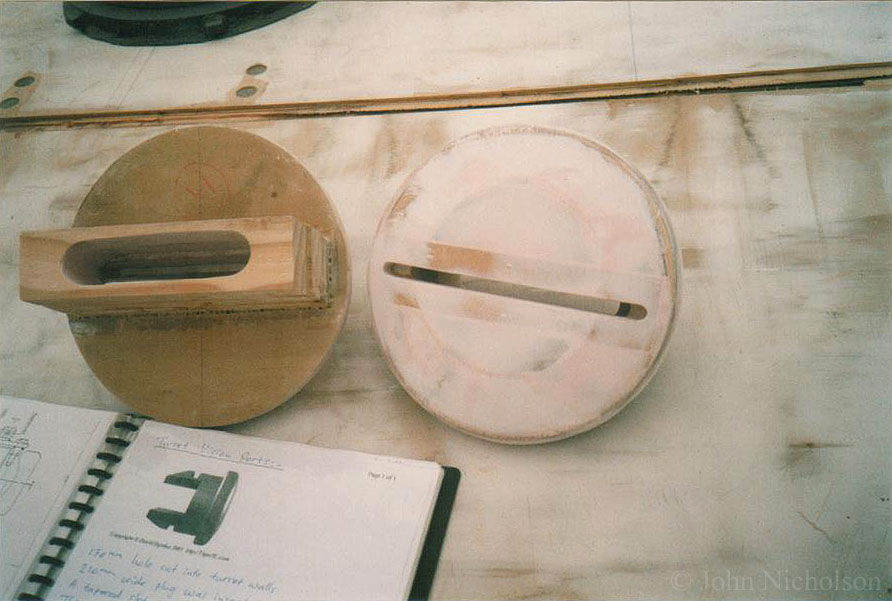
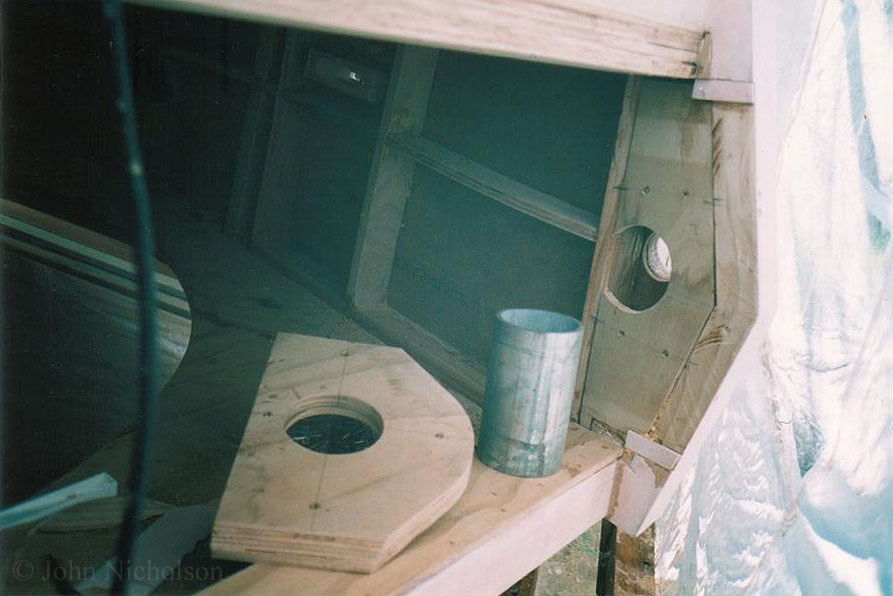
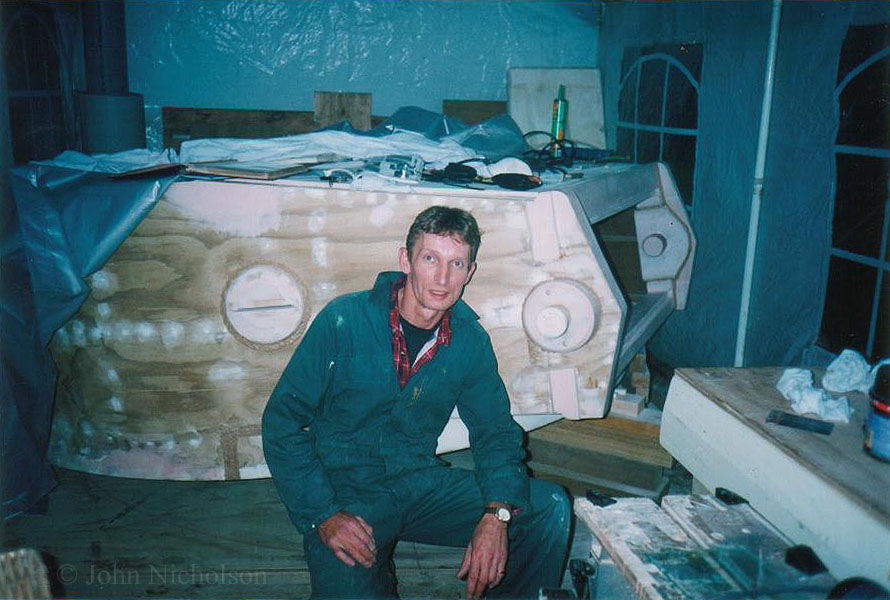
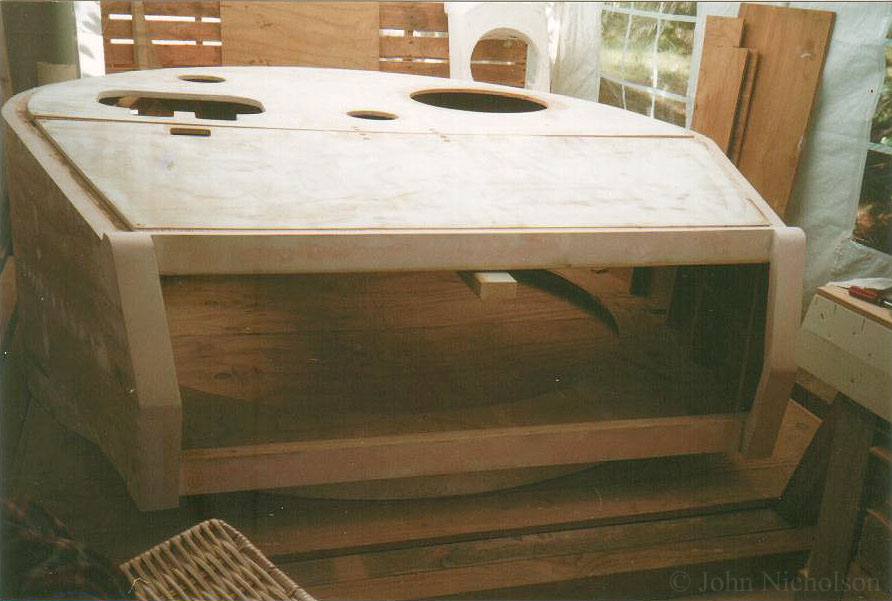
47 - Sections of ply were cut to form the discs for the later-style side-visors, with various sized openings.
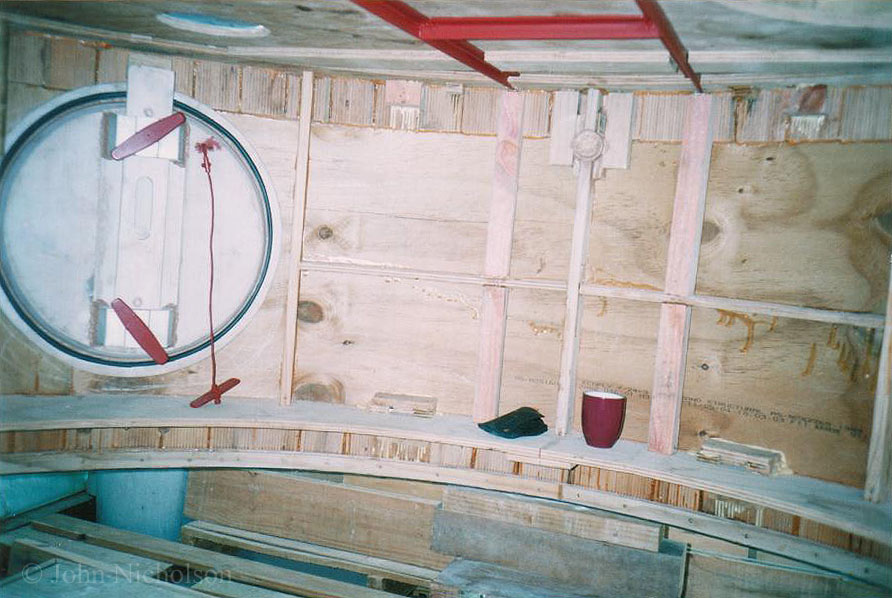
49 - From inside, I was amazed at the field of view from them !
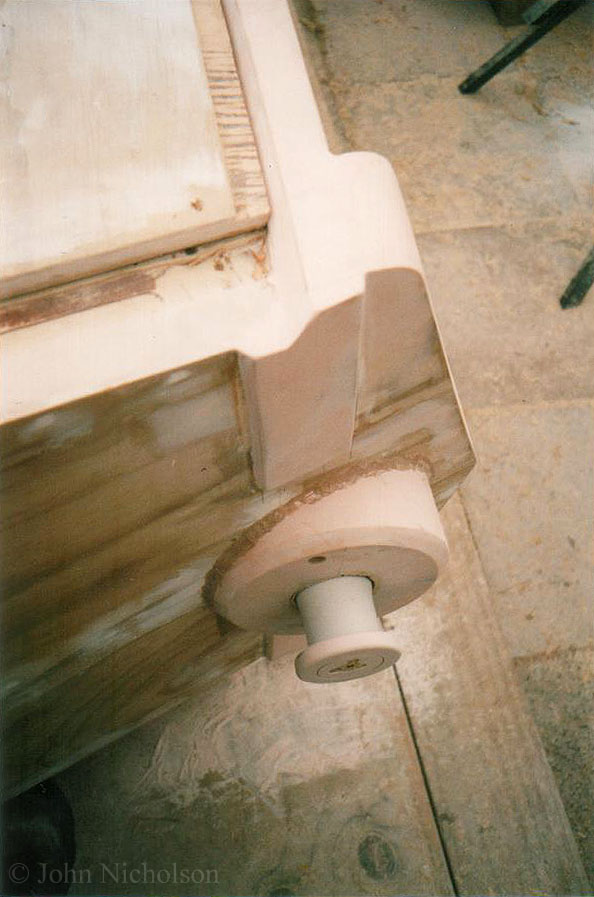
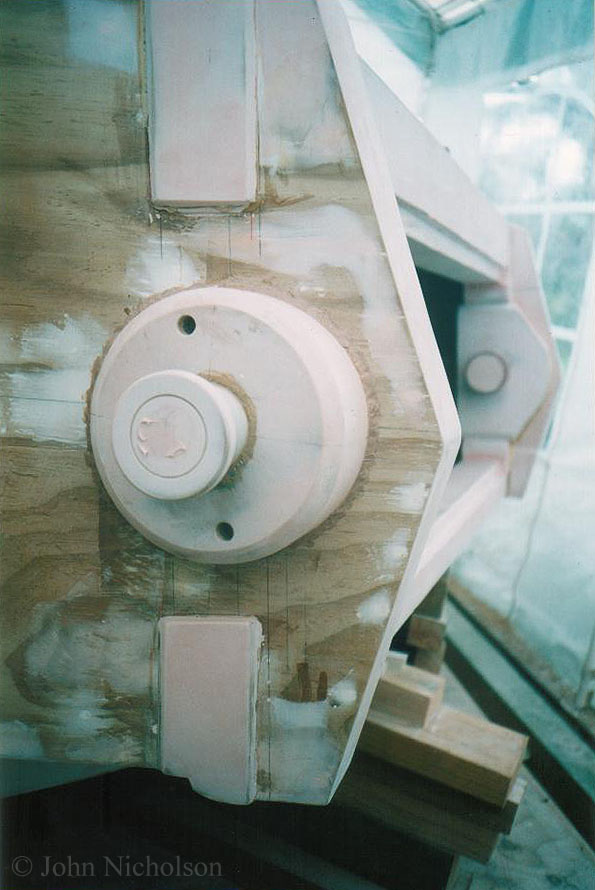
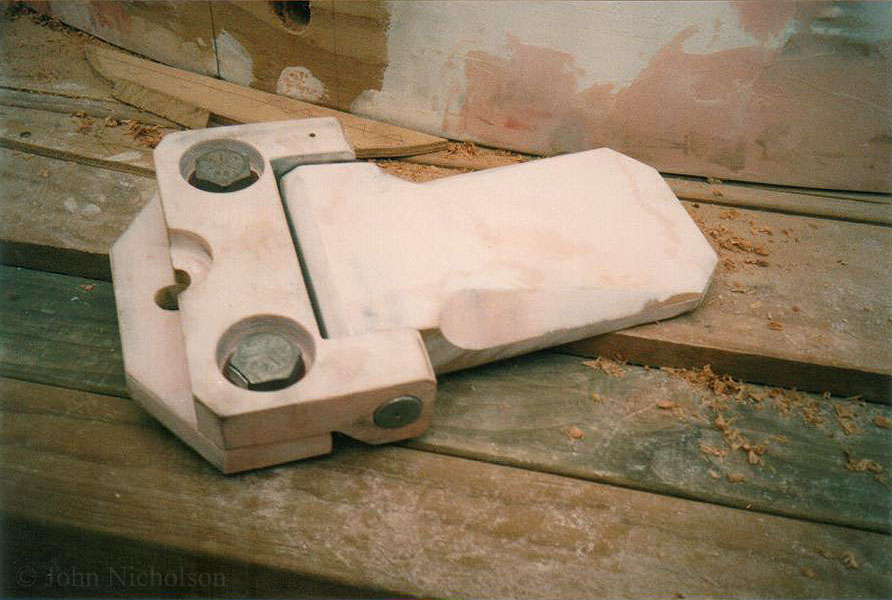
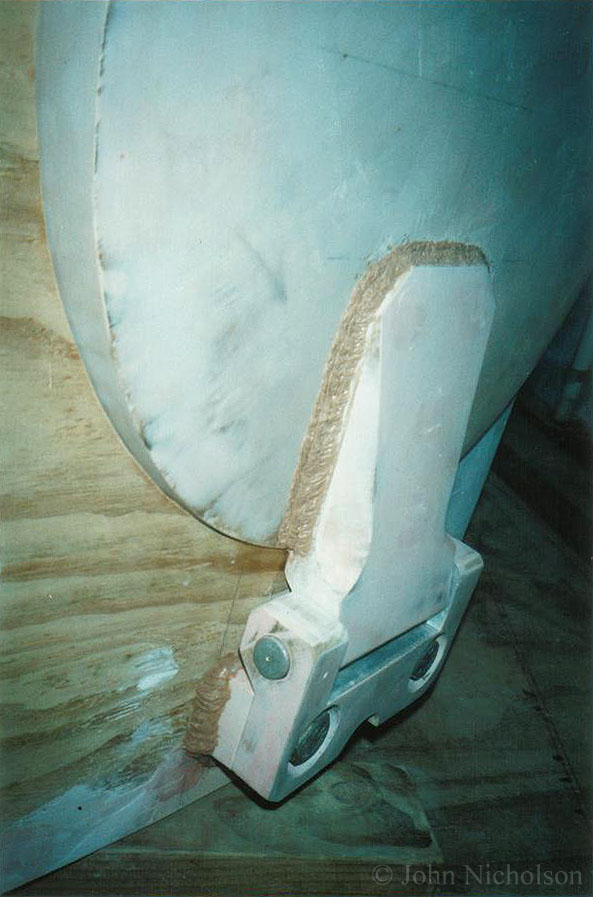
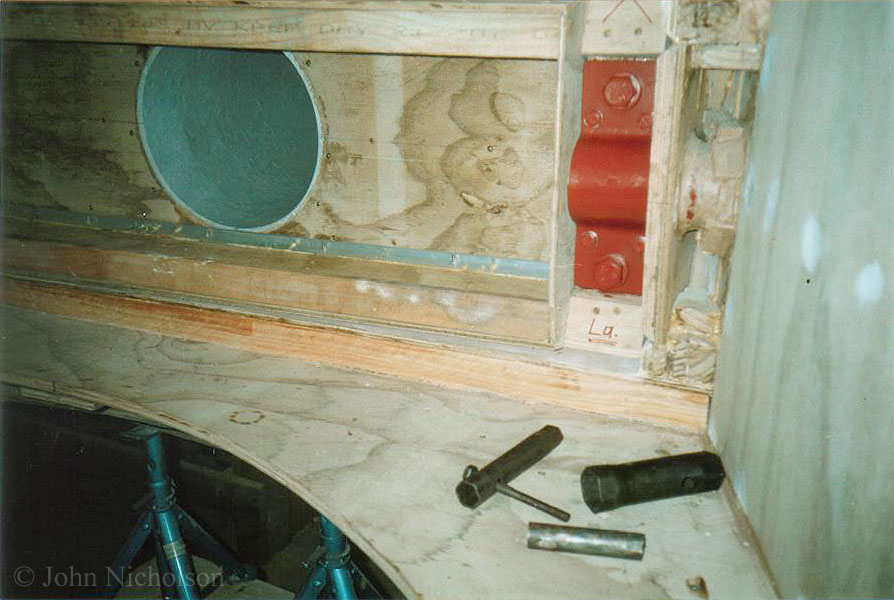
44 - The outer-housings for the lifting lugs and mantel-pivots.
45 - There was a lot of tricky work here!
63
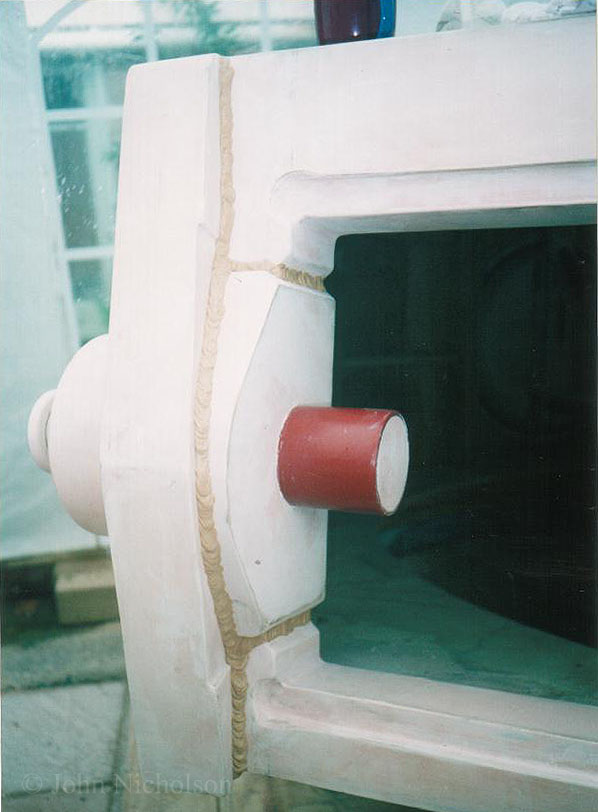
56 - The steel tubes used for the front mantel pivots.
57 - Note the recess above and below to house the splash-rails.
58 - The bottom bar I later learned was much too thin, so was added too later.
46 - The rear lifting-lug. All three are lined with steel so they should be able to be used to lift the turret, as originals were.
62 - Brackets of thick aluminium for the rear turret bin.
61 - After another hard weekend in the tent!
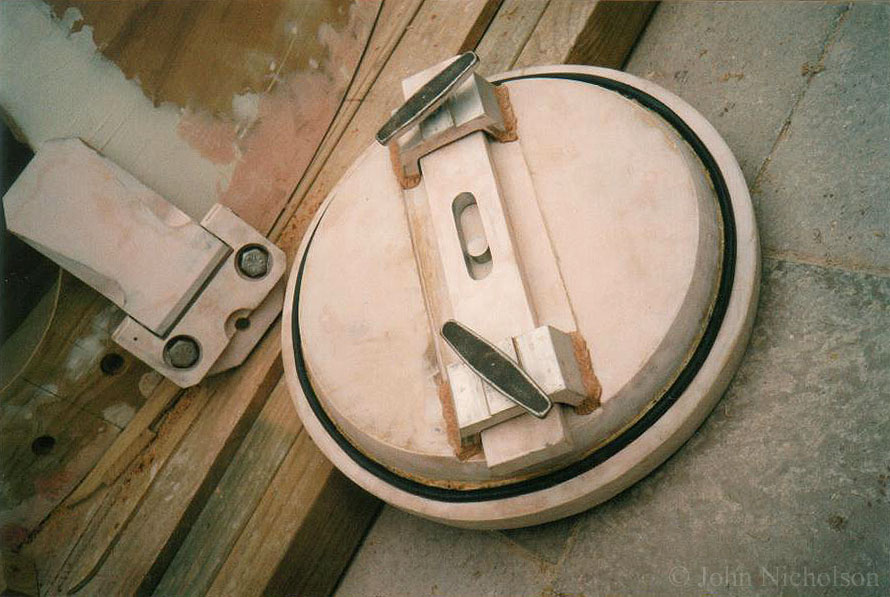
51 - Escape-hatch hinge made from ply.
50
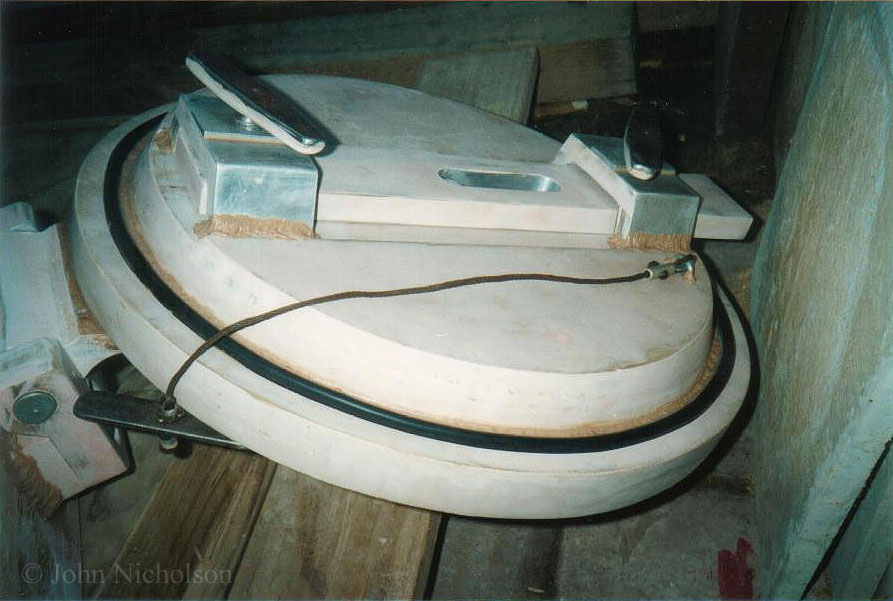
52 - The escape-hatch locking handles are made from steel. I fitted a steel-cable so it will not crash when opening.
55
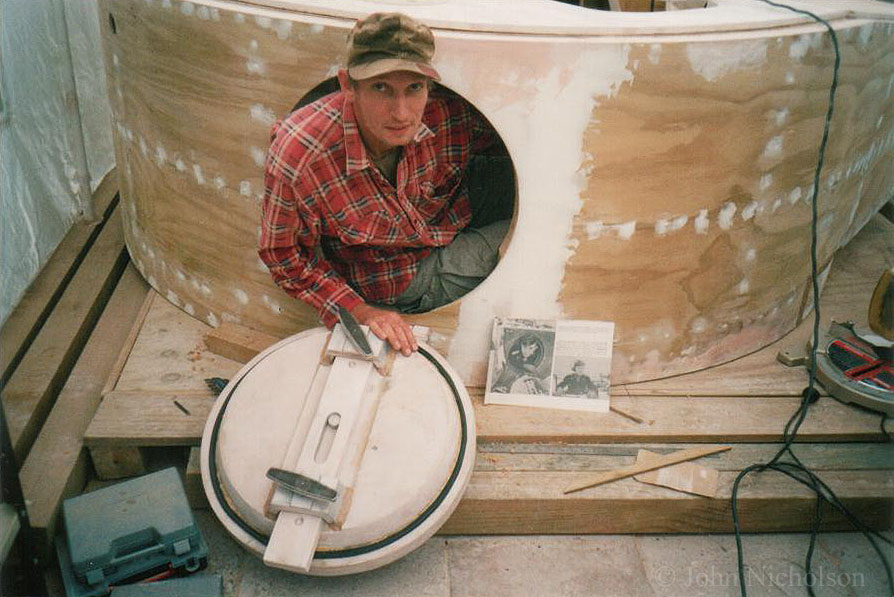
54 - Trying-out the hatch for size!
53
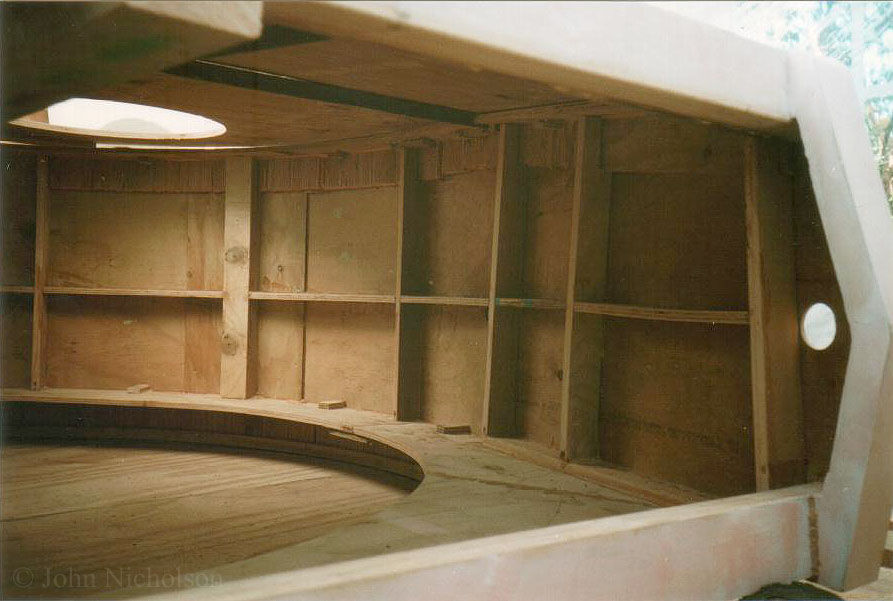
60 - View inside the walls and roof, which will later be lined with ply.
59
66 - Pivot-hinge for mantel, inside loaders side.
43
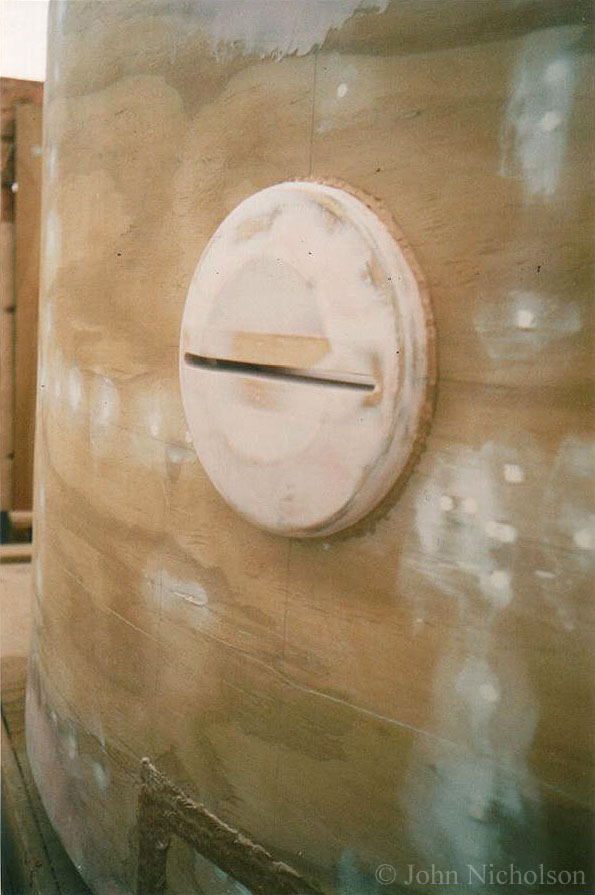
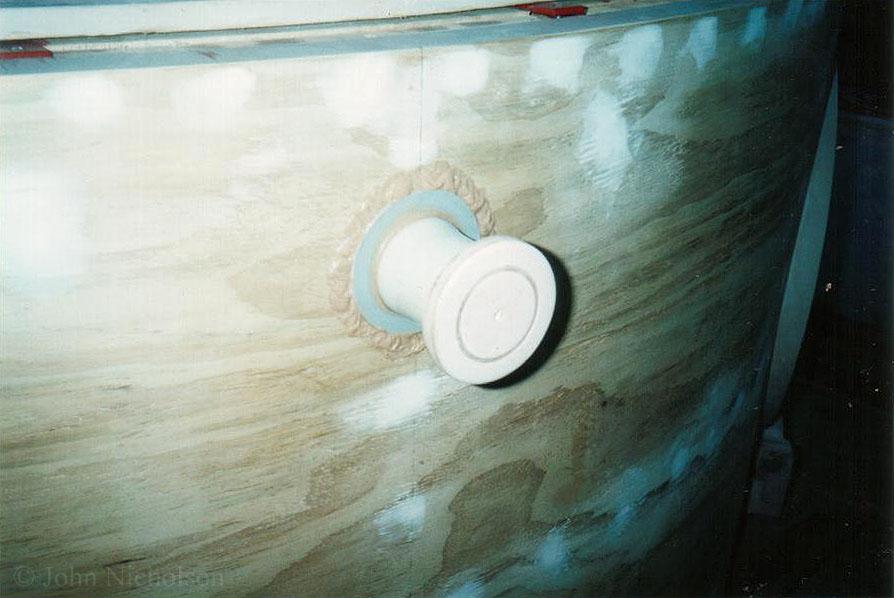
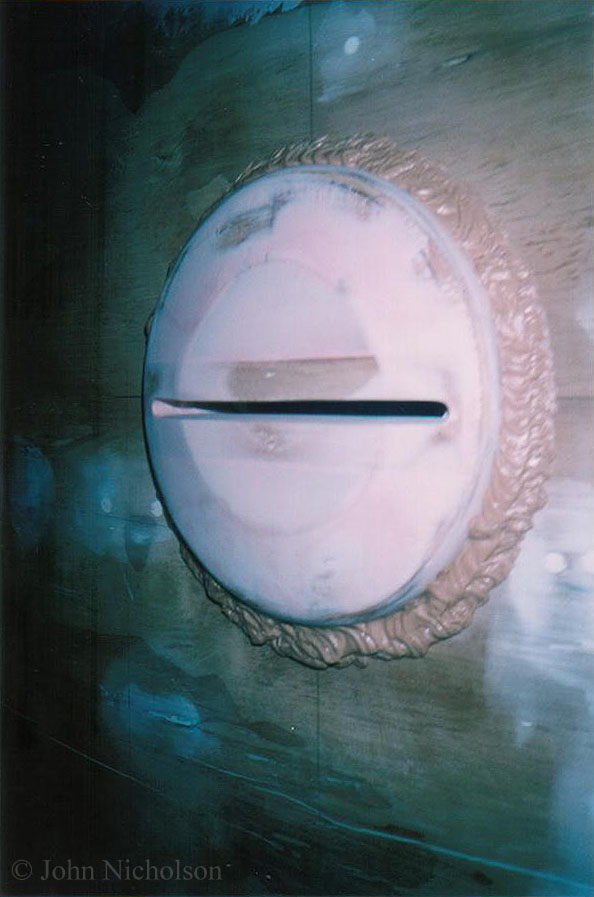
83 - Side-visor with weld-beads added.
68 - First attempt at the rear of mantel. later this is scraped and re-built !