The Eva Project, p10, Mantel brackets, episcopes and more.

Your browser does not support JavaScript!


Mantel brackets, episcopes, browpads, rifling and start of the muzzle brake.


01
01 - Barrel end with rifling-awaiting the muzzle brake (MB) to be fitted. The two blank- blocks of polystyrene in front are to be used for this.
02
02 - The rifling-it proved most difficult to make!
03
03 - I only made a short 500mm section.
04
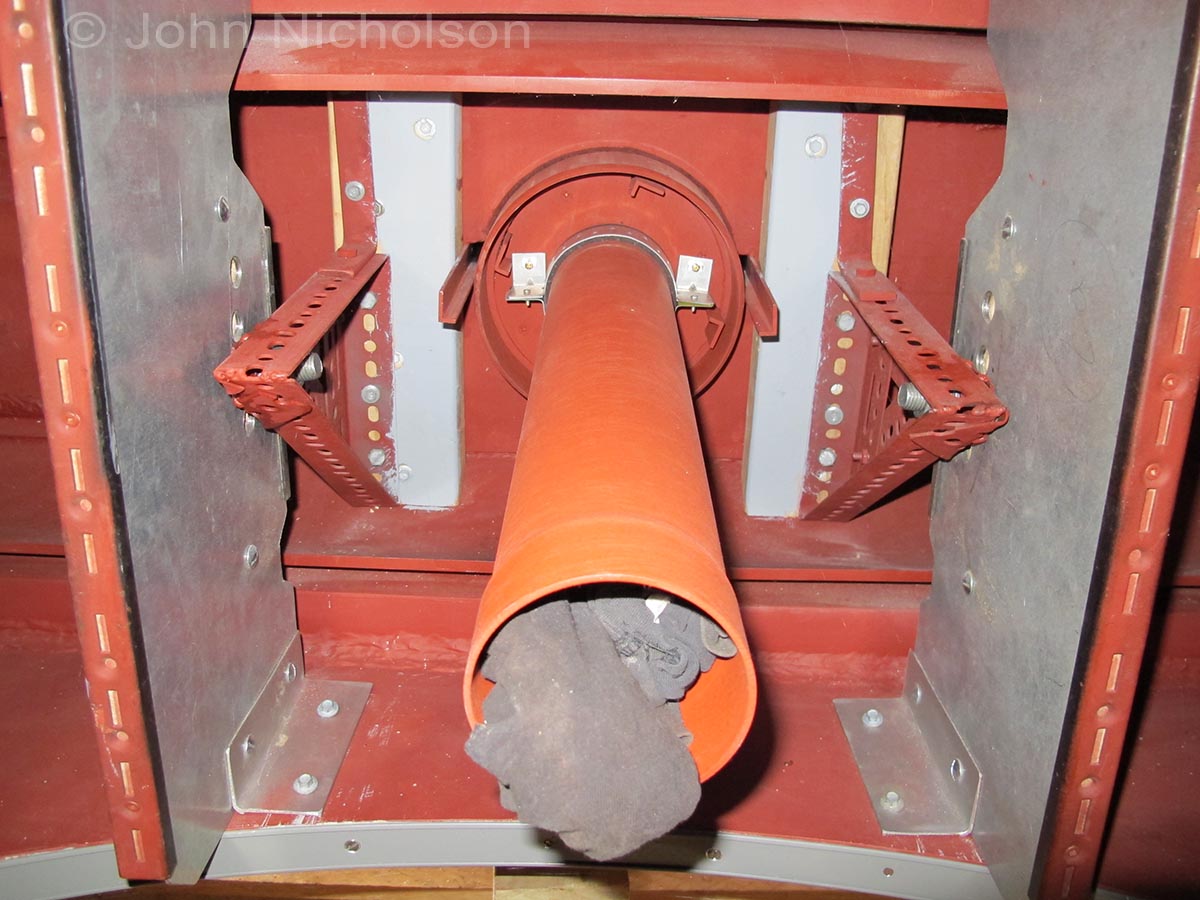
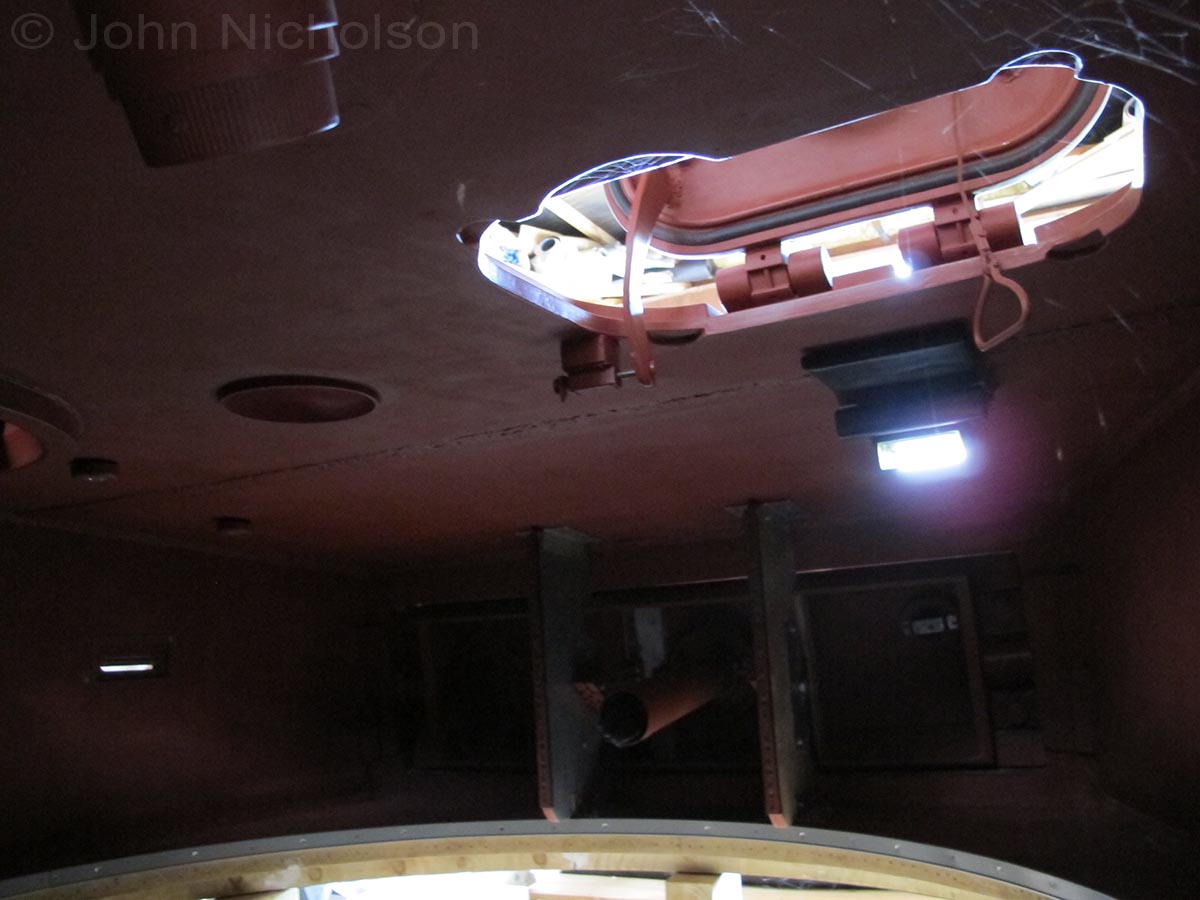
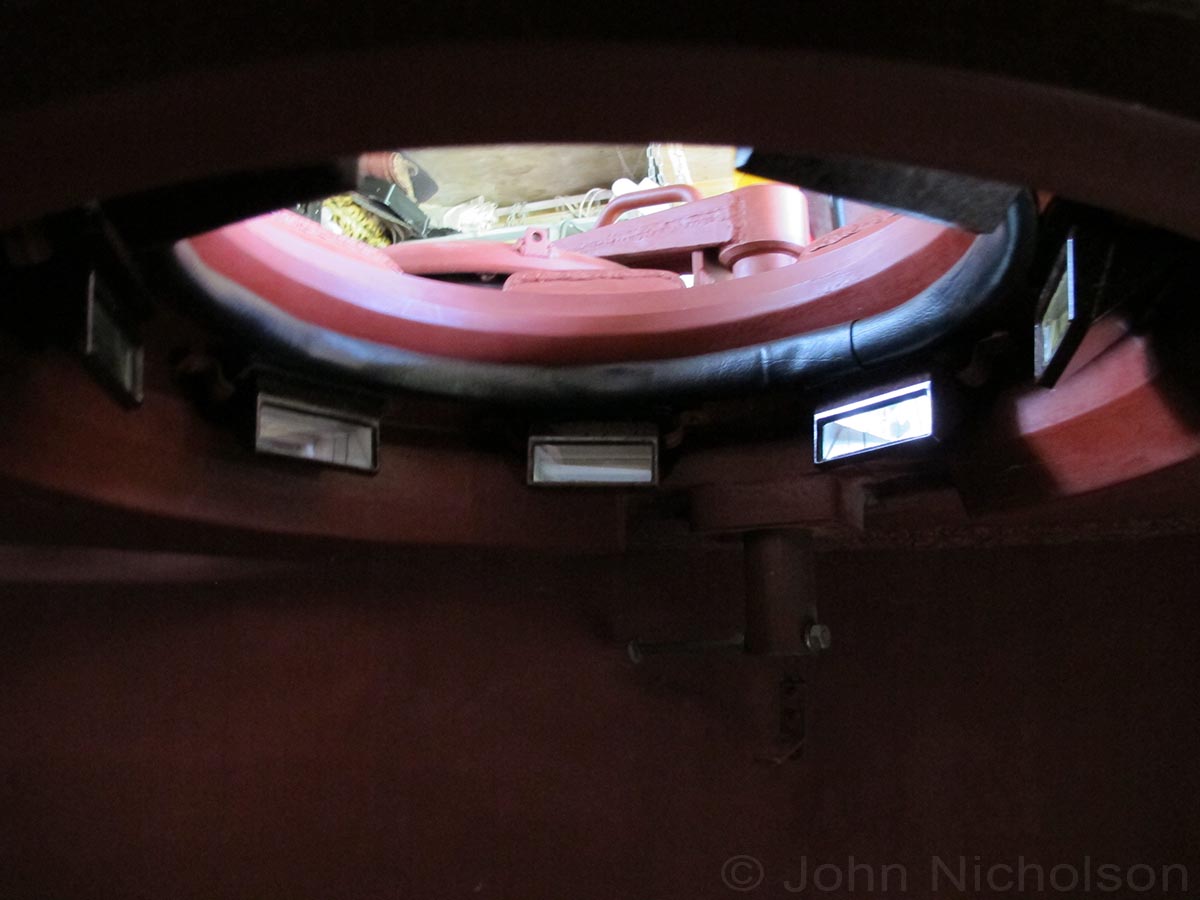
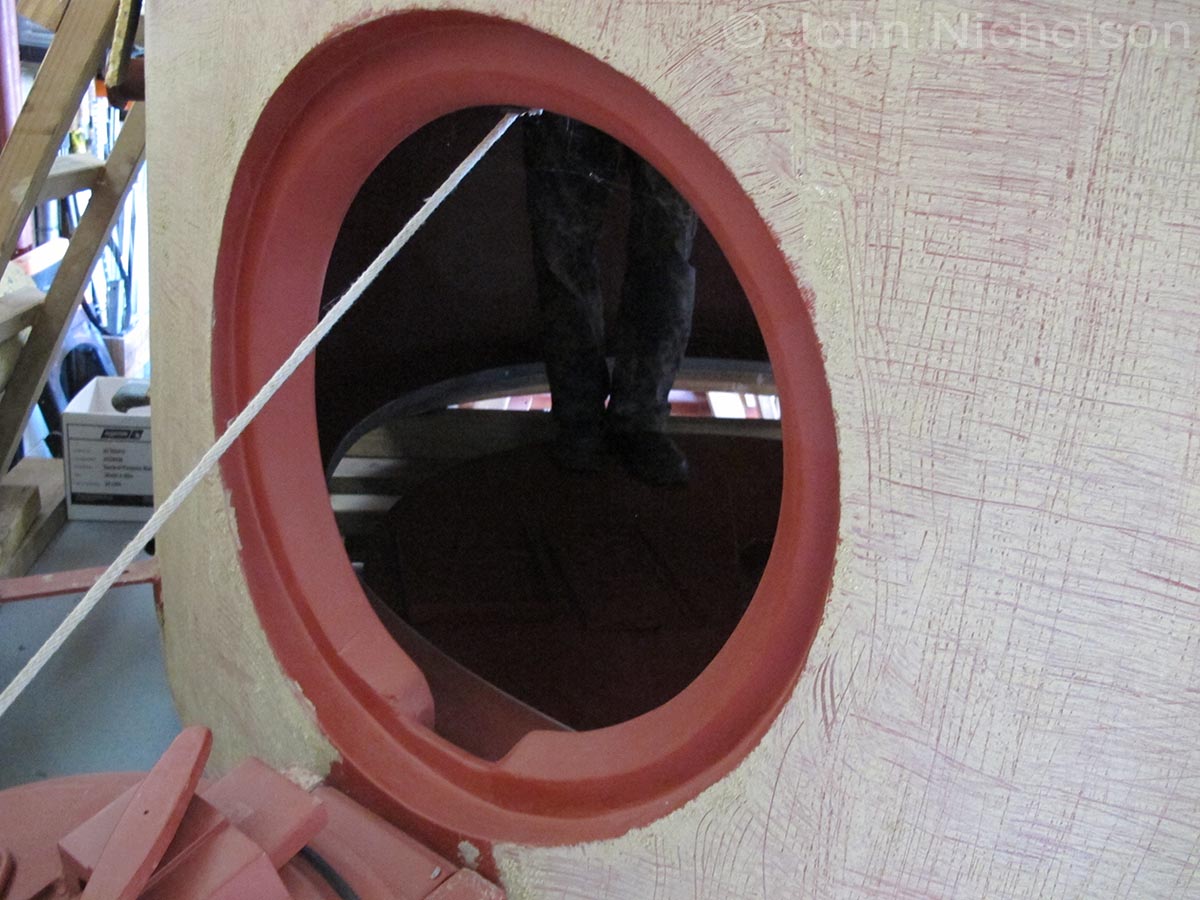
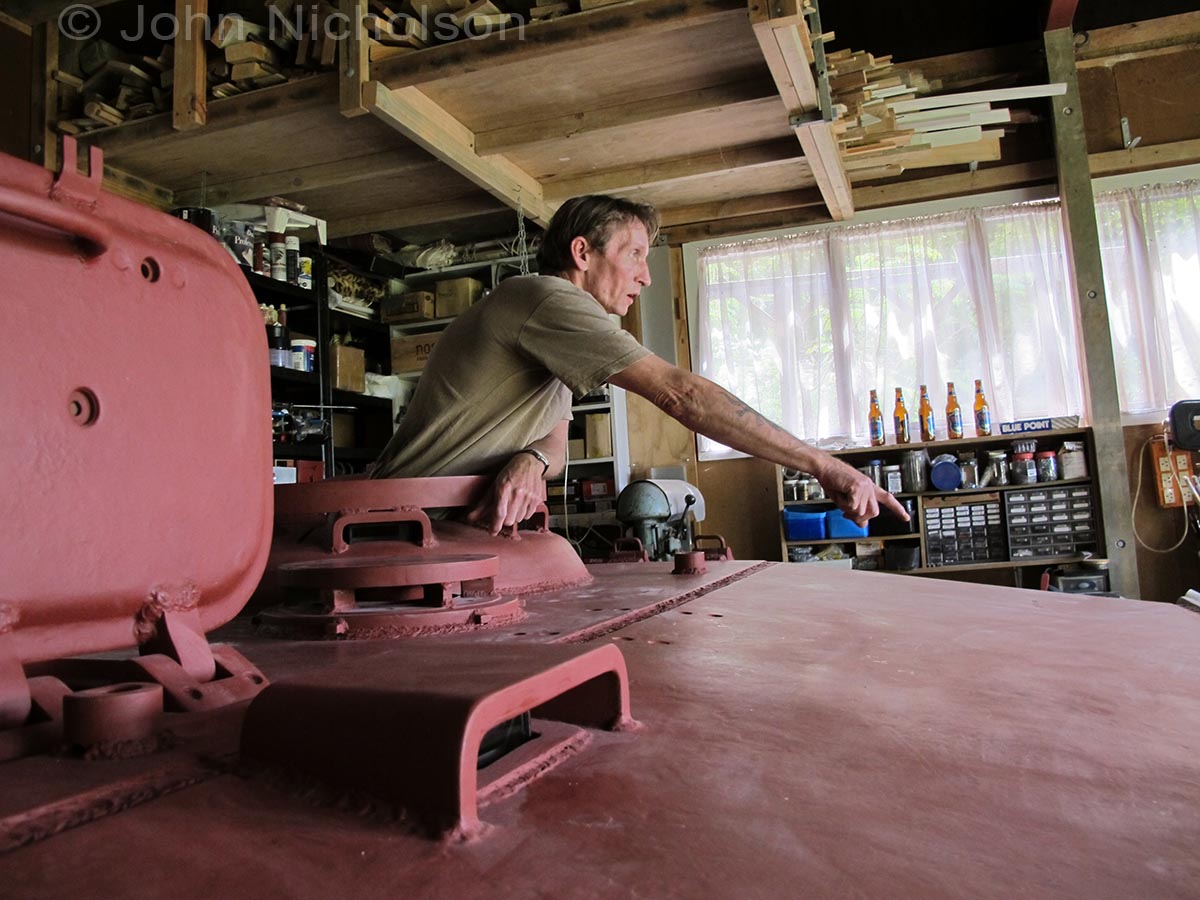
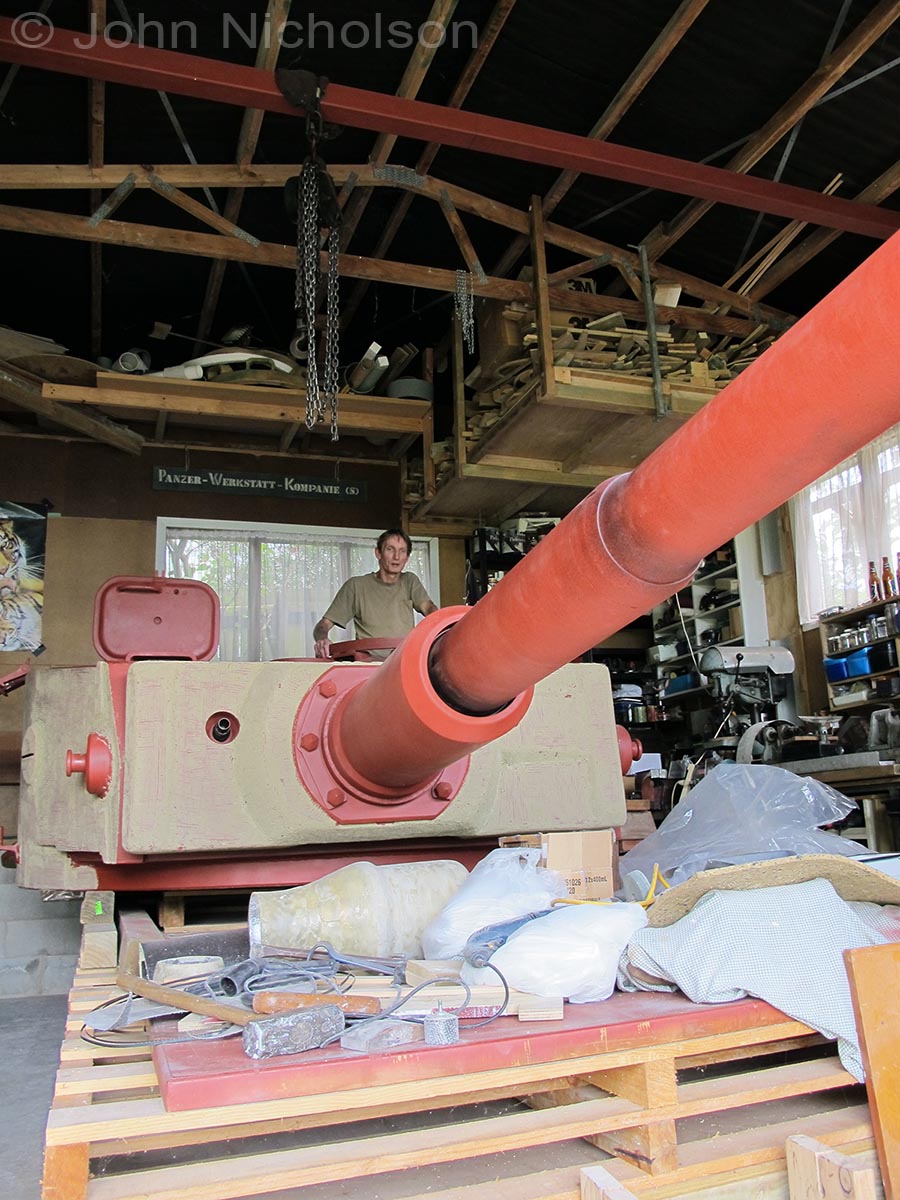
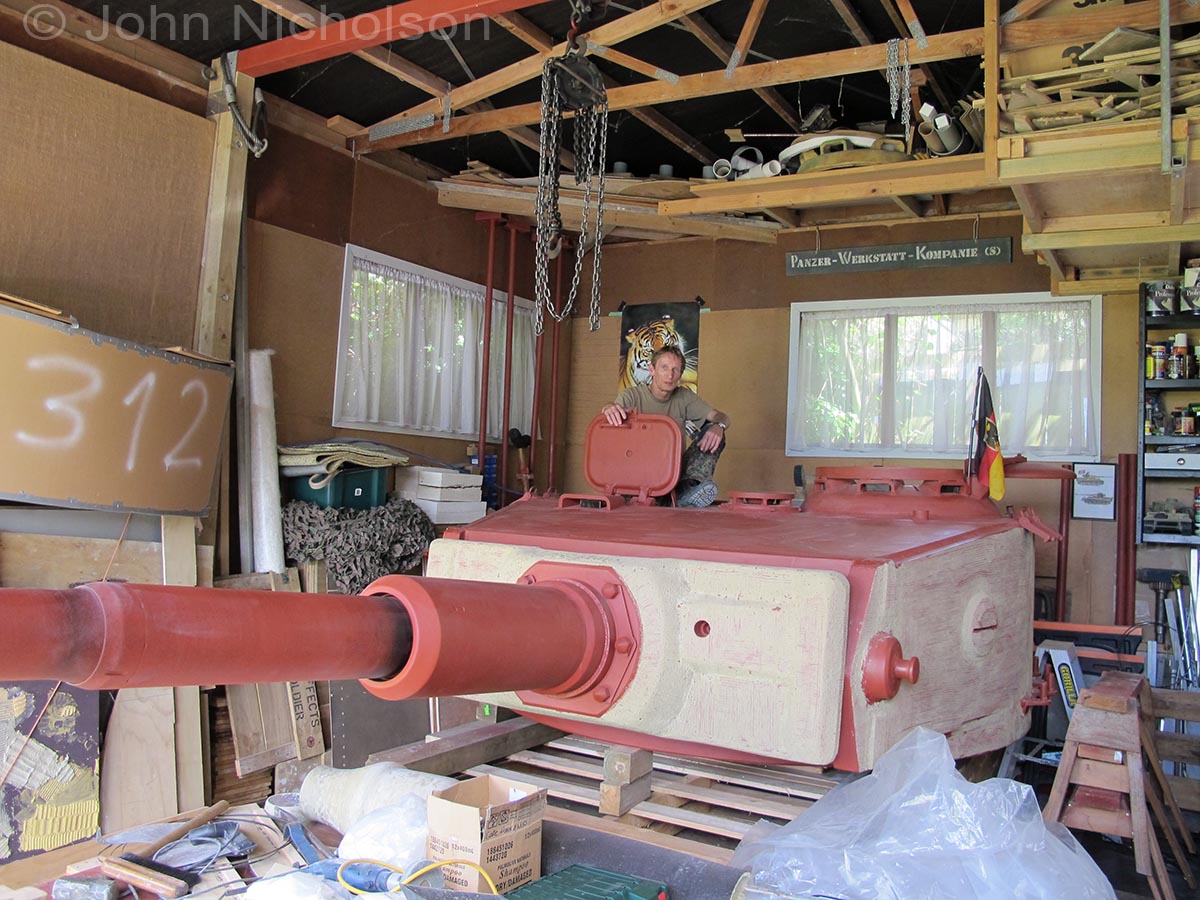
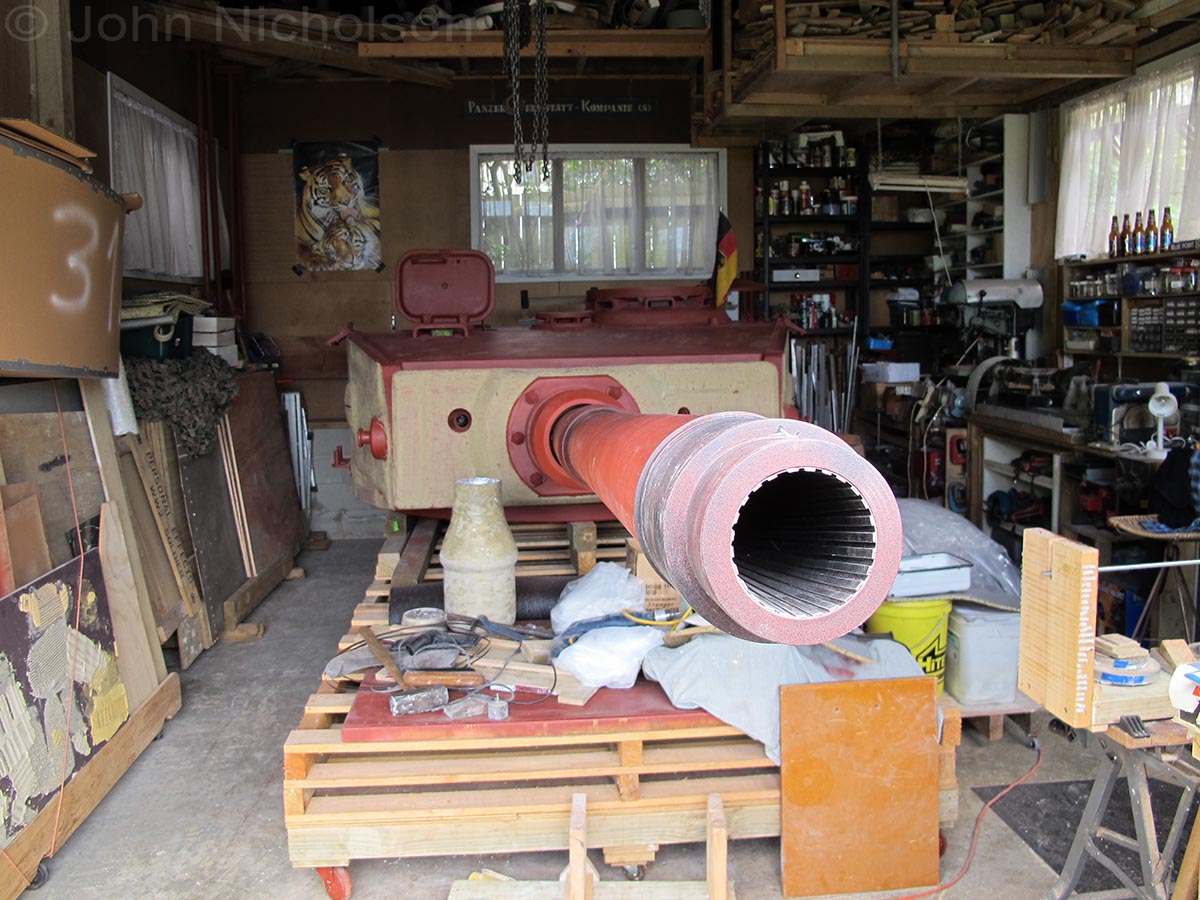
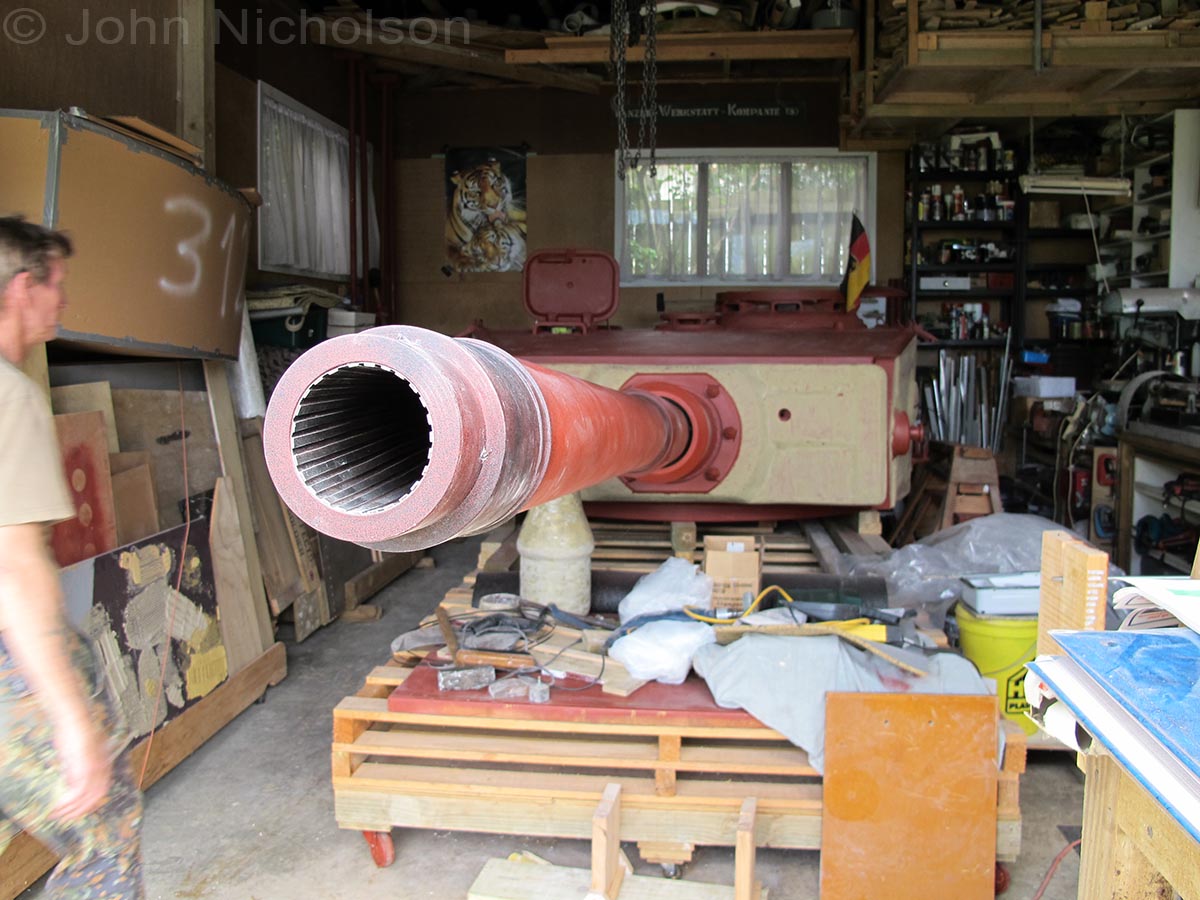
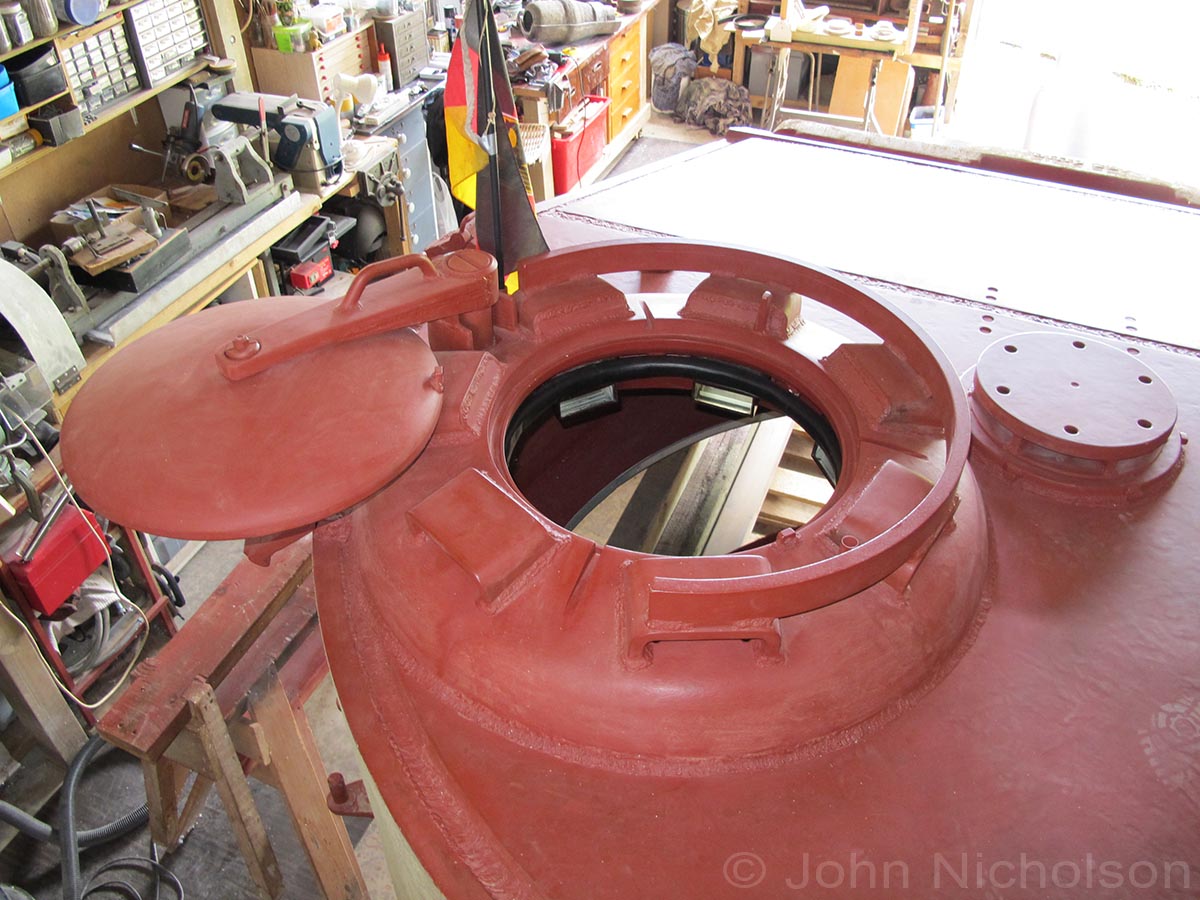
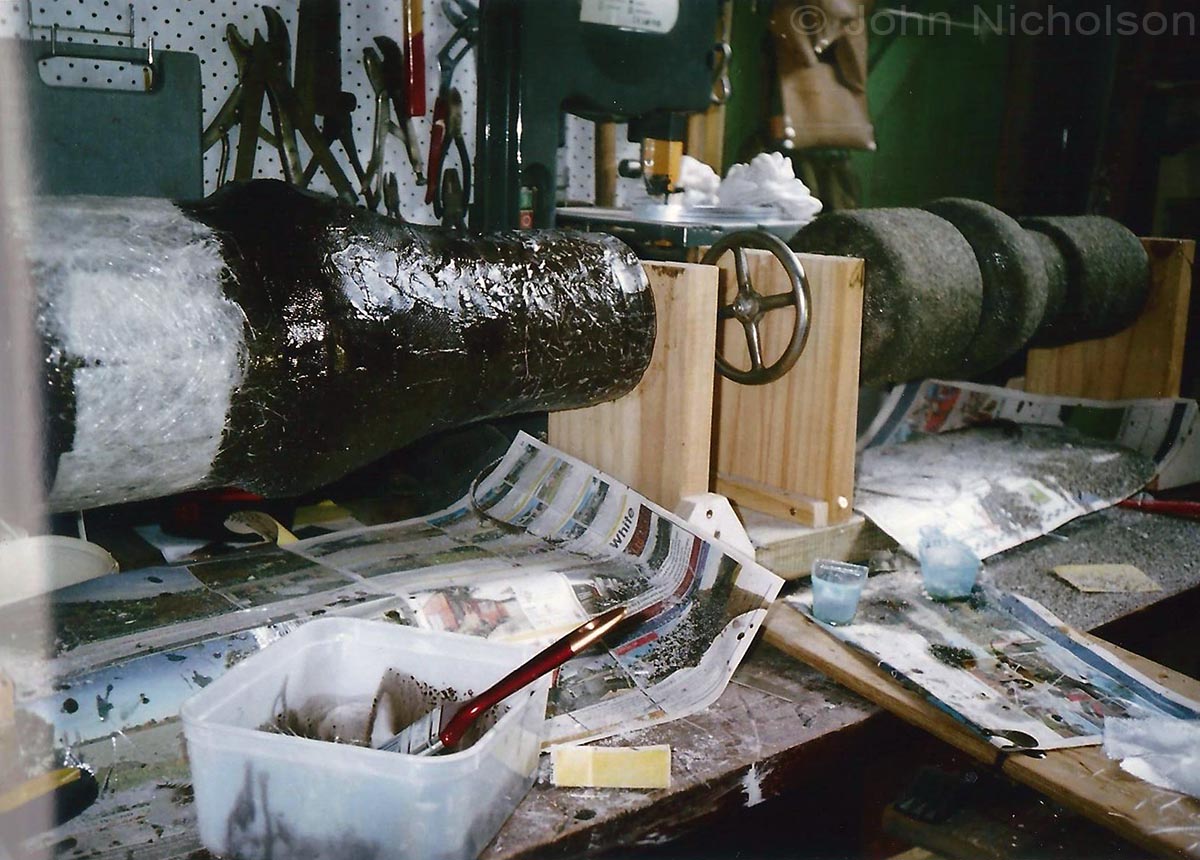
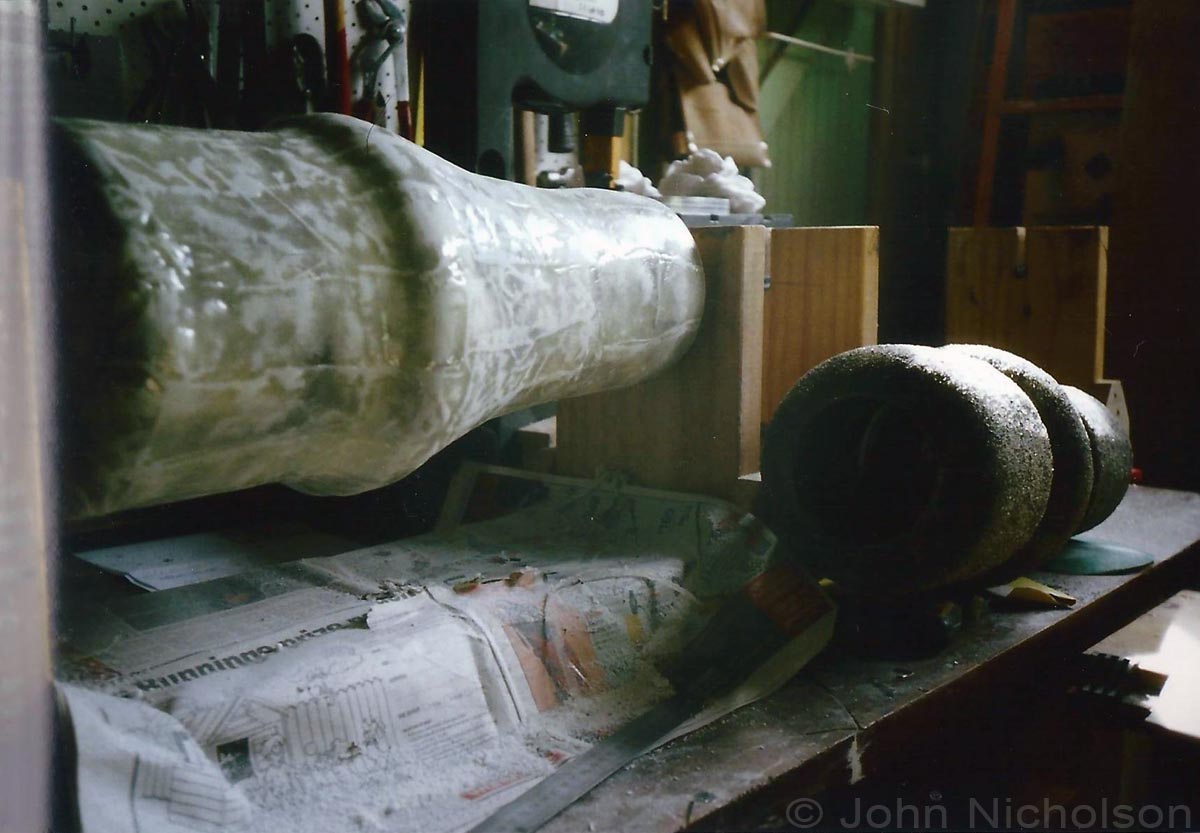
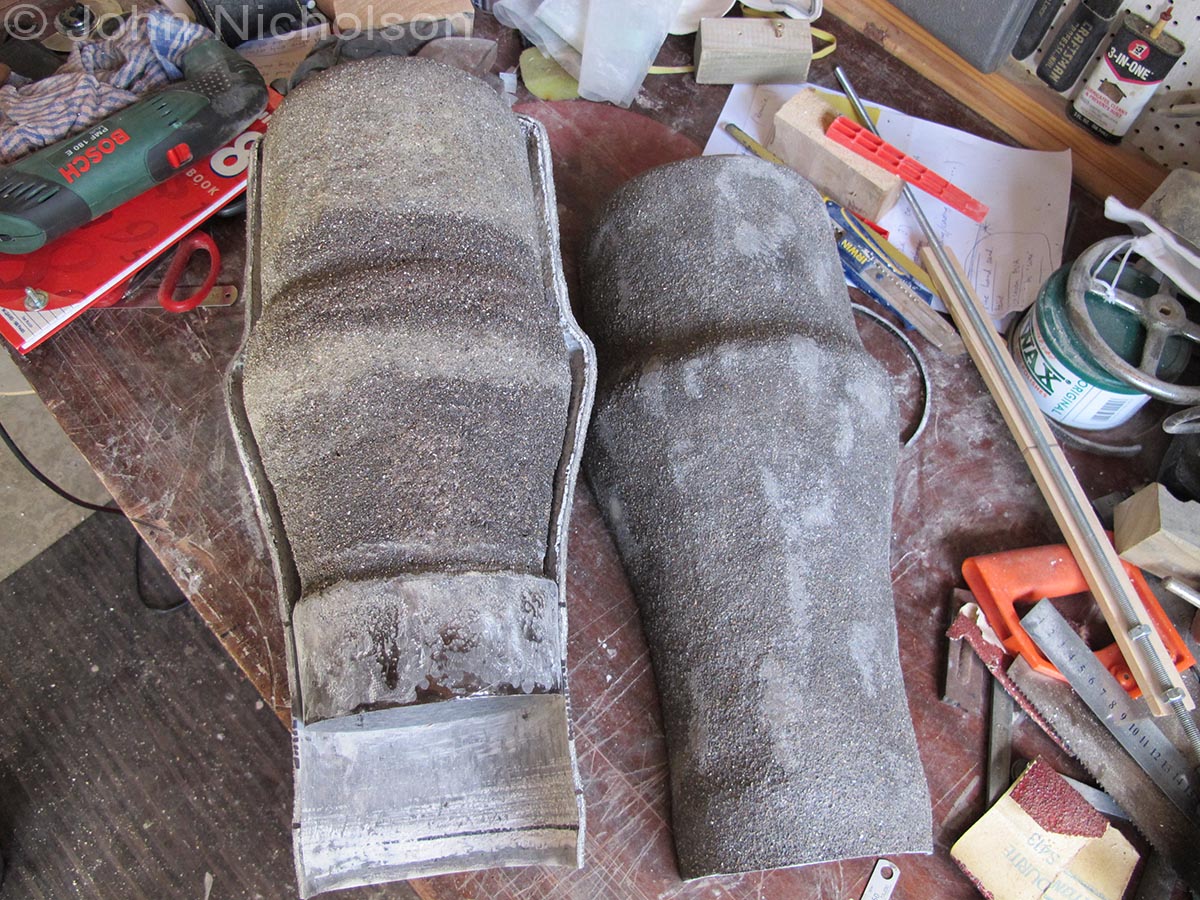
04 - The rather "ugly" internal mantel-brackets. Hopefully these are only a temporary fixture.
05
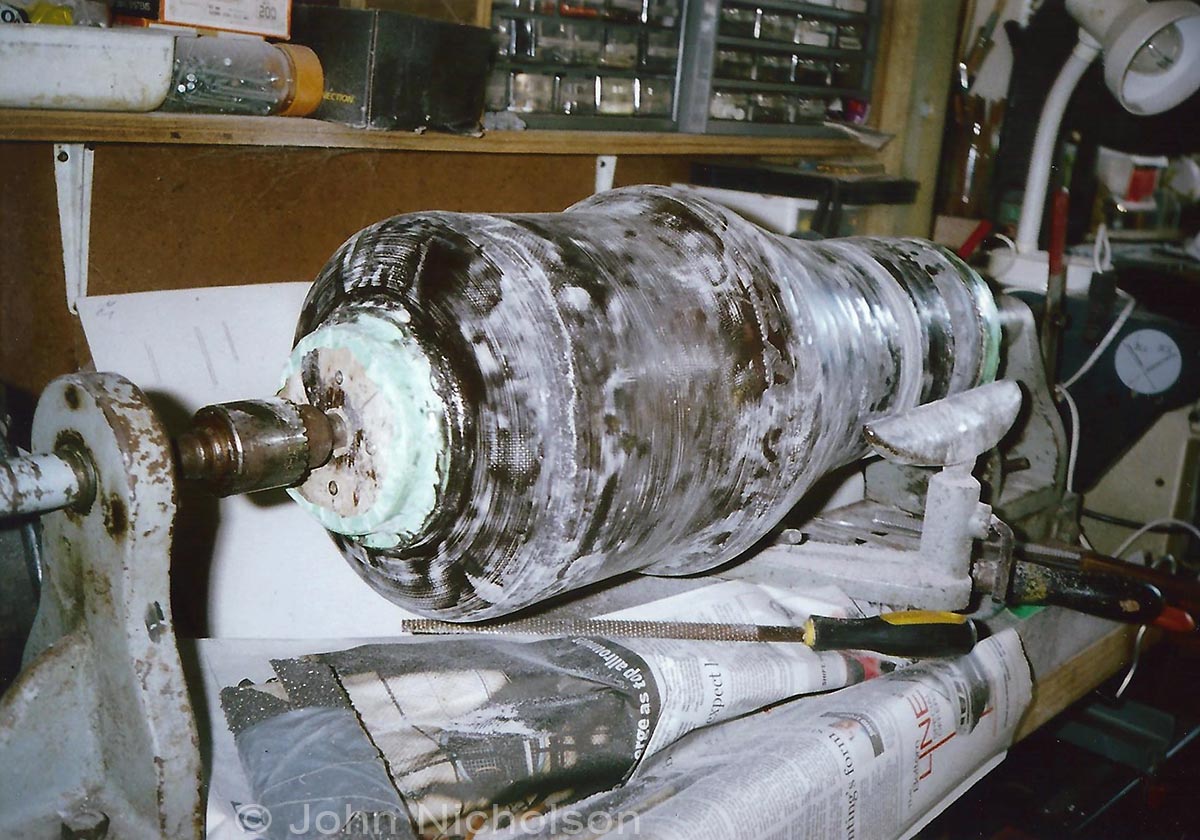
05 - These brackets allow me to do away with the external-barrel-support.
06
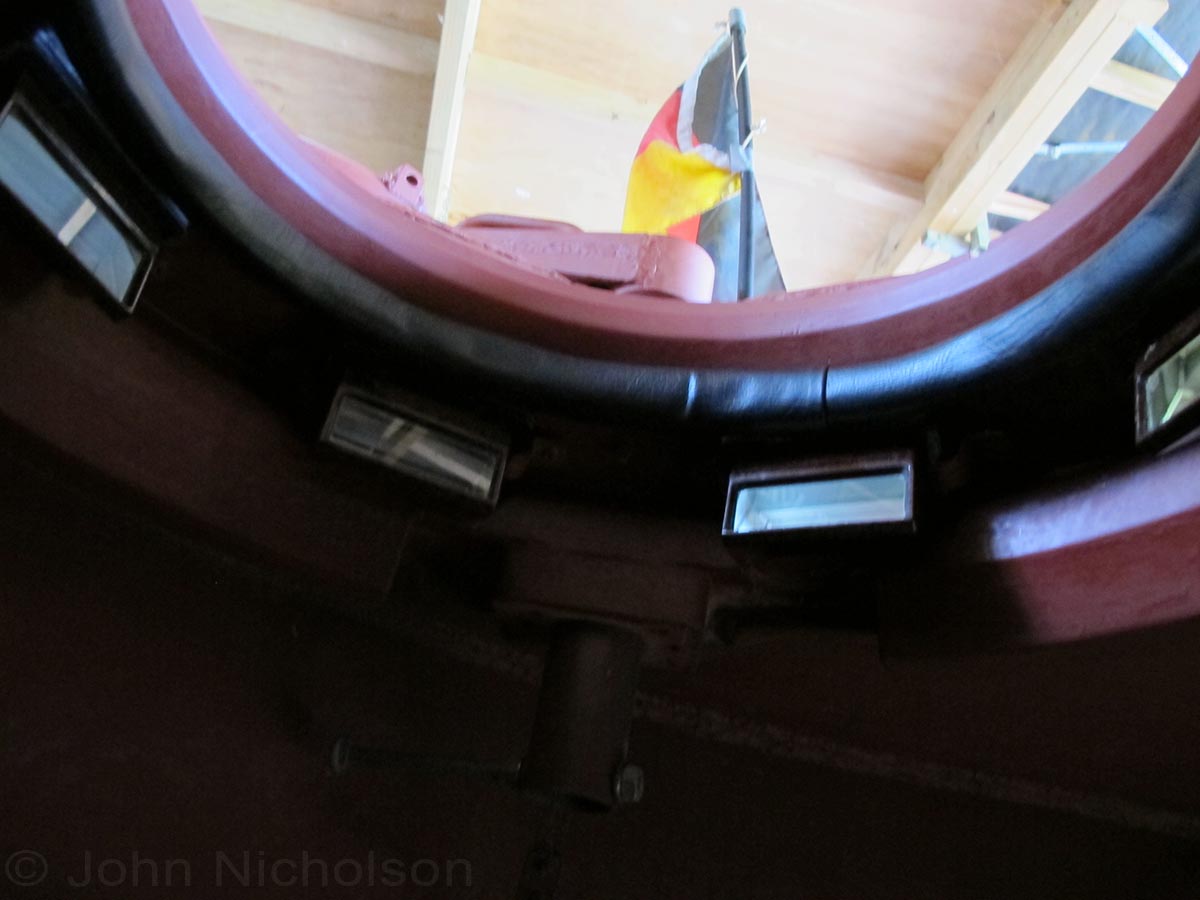
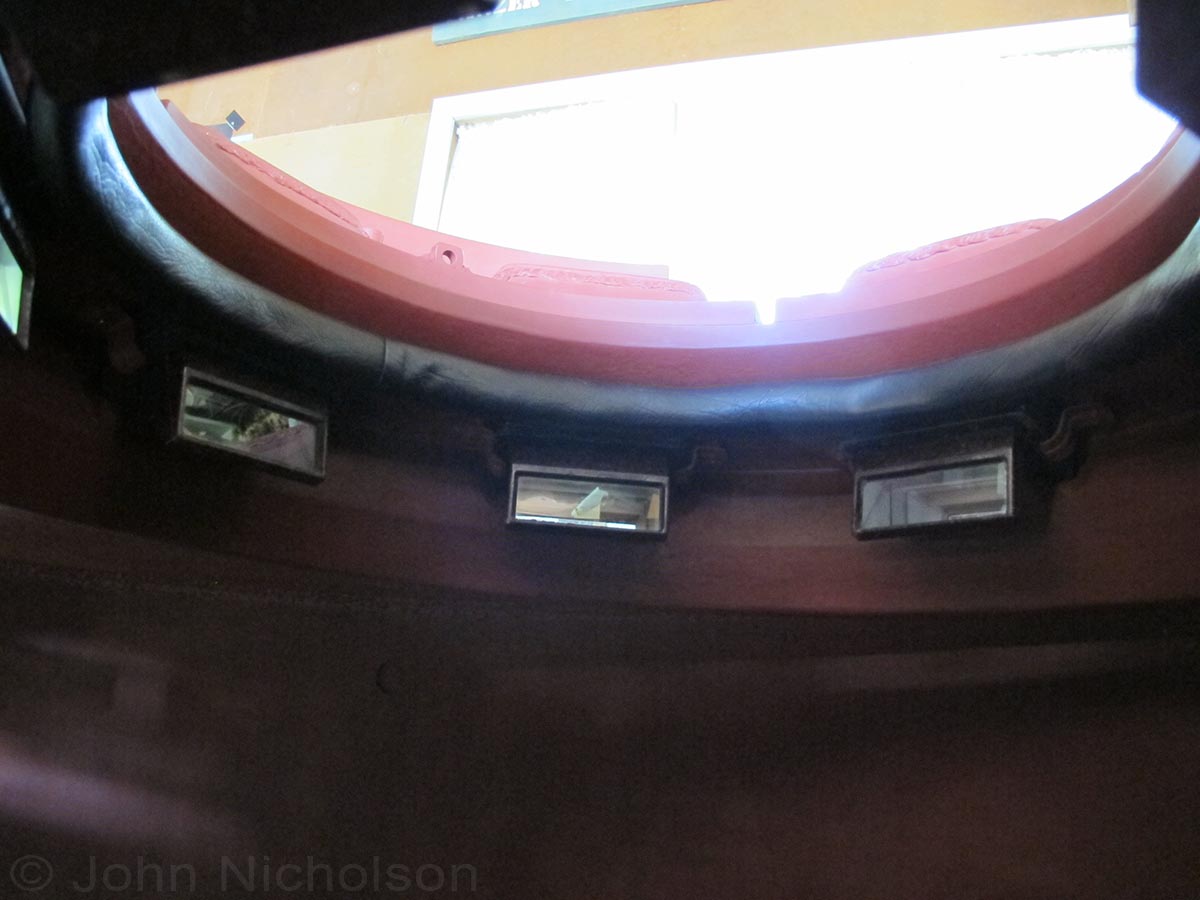
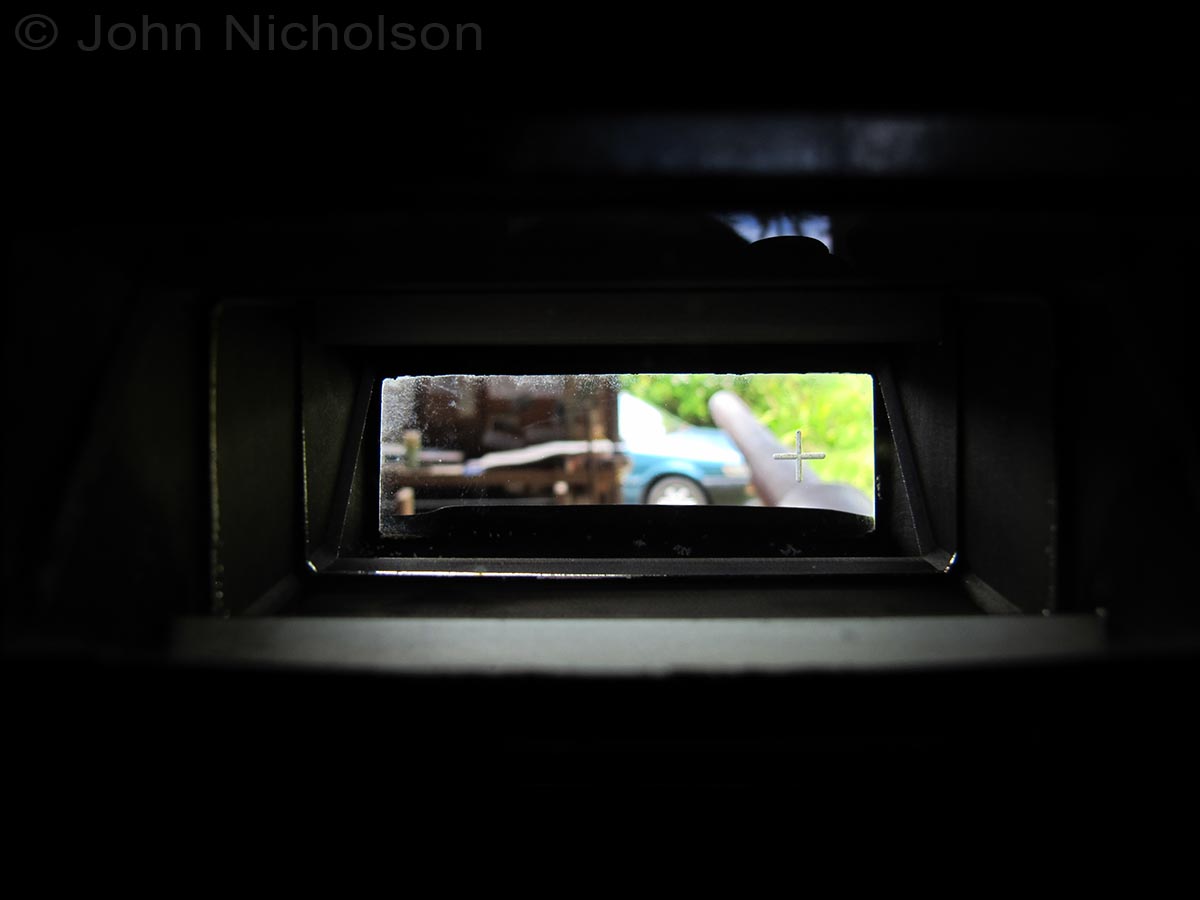
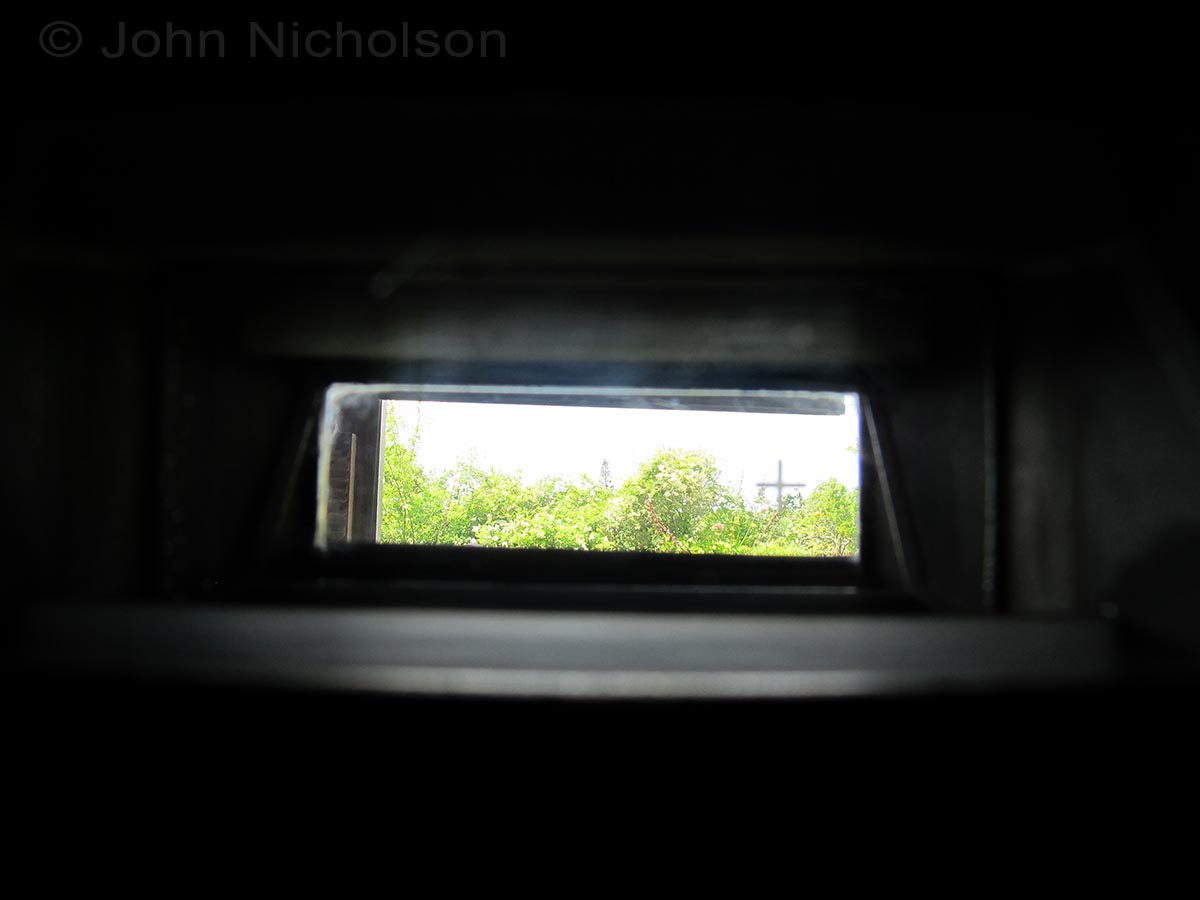
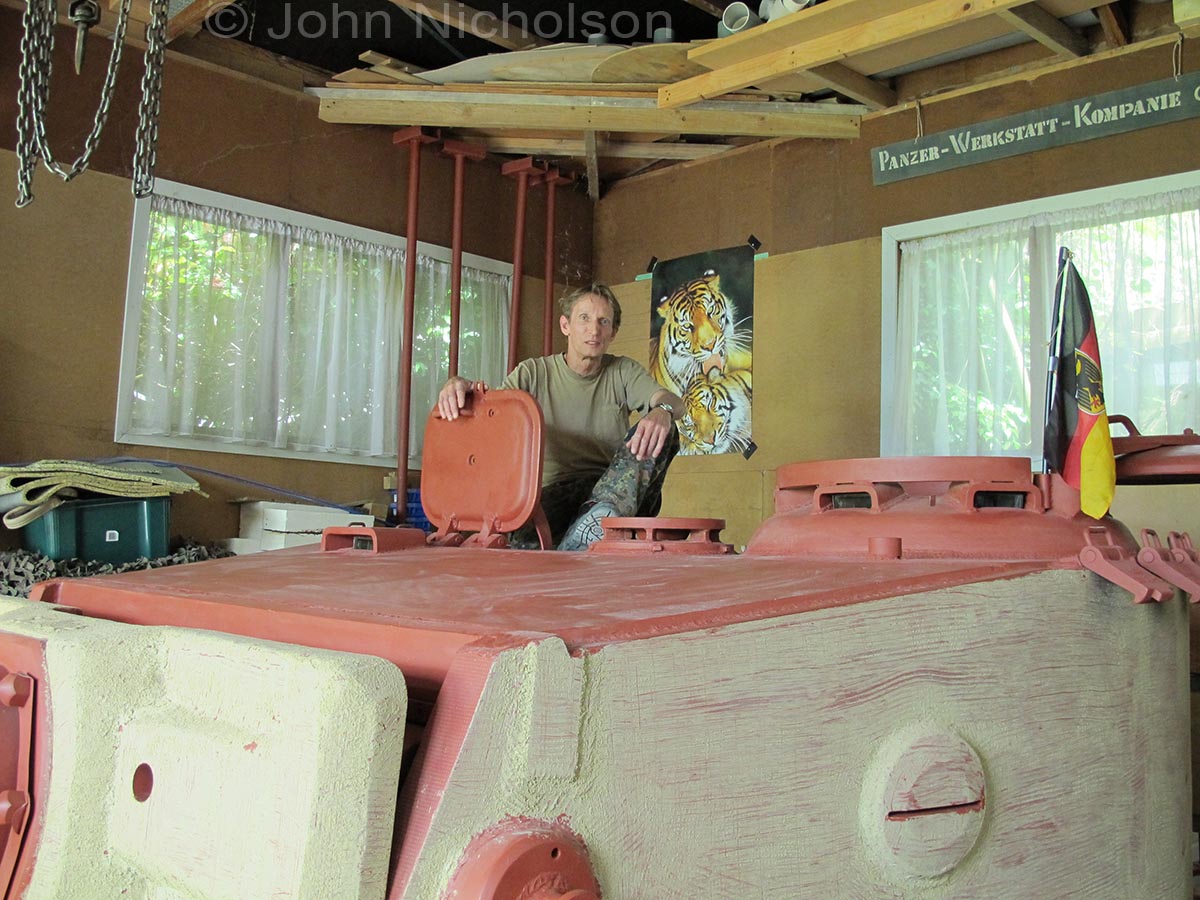
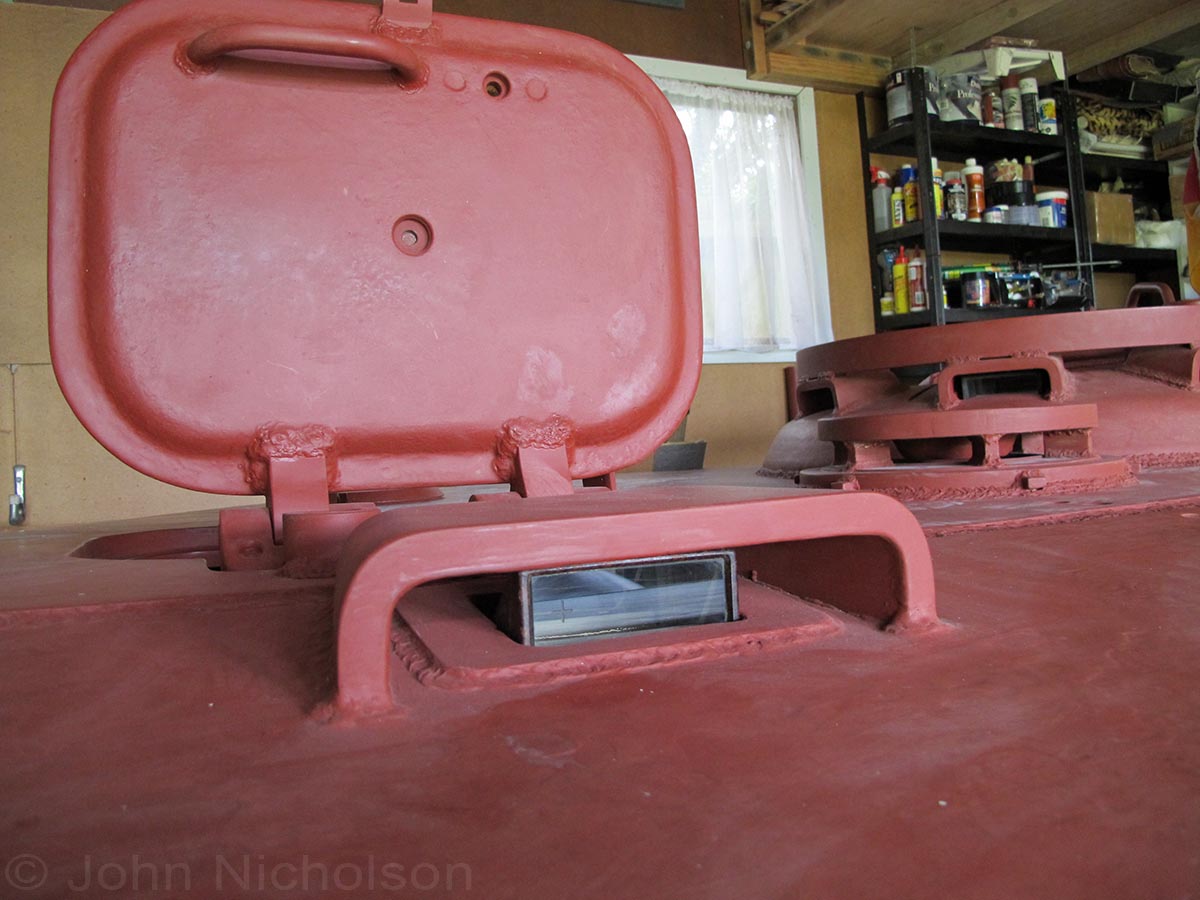
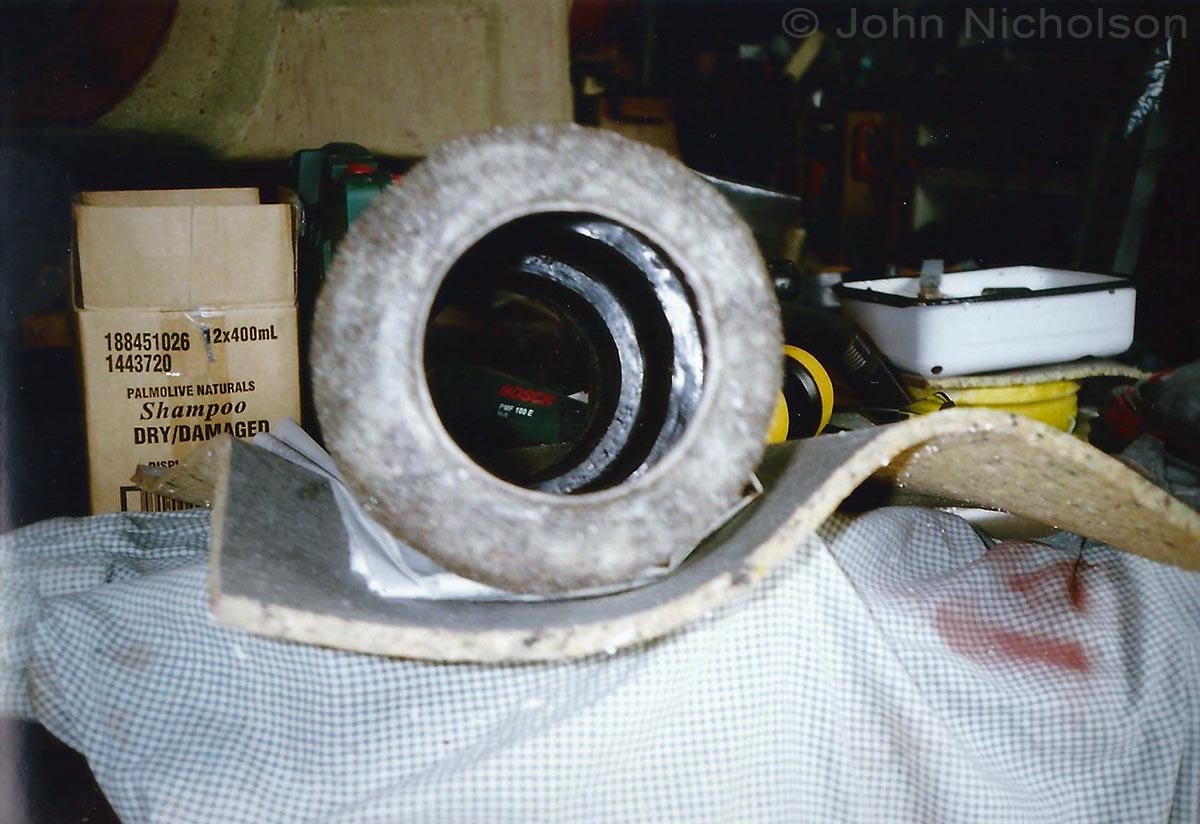
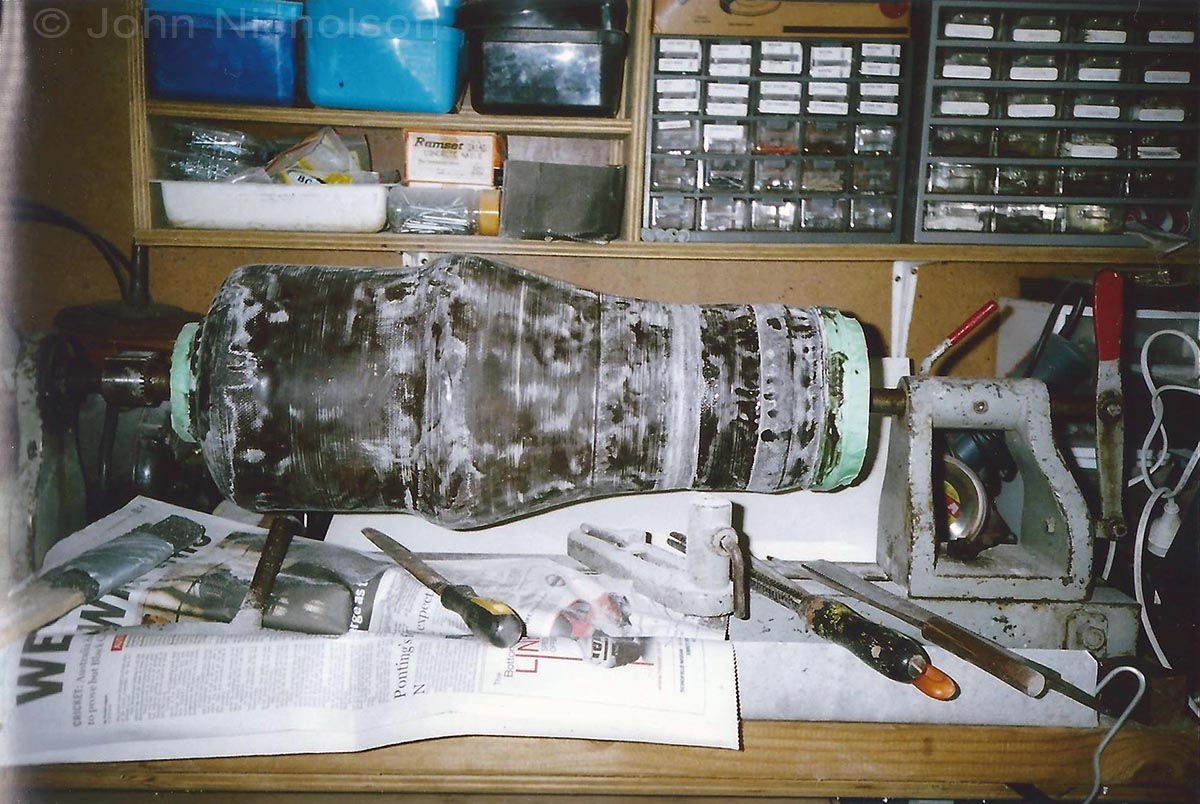
06 - Inside showing the bright, natural daylight coming through the loaders episcope. Note his head and browpads.
07
07 - Under the cupola with all seven episcopes fitted.
08
08 - Note the padded browpads ring. A very important feature if using the episcopes while on the move!
09
09 - I still need to find and fit the large correct wing nut fittings for these.
10
10 - View through the forward cupola episcope. The barrel is clearly aimed "above" my wife's car!
11
11 - Loaders episcope and browpad.
12
12 - View through loaders episcope with "possible" target located above the neighbours tree-line!
13
13 - The open escape-hatch. Label is to remind me to keep it from falling.
14
14 - Rope in place to limit the angle of fall. This is not an original fitting!
15
15 - The hole in the turret-wall proved very difficult to make.
16
16 - Directing my son, the photographer, to take a particular shot...
17
17 - The turrets maker and serial number on the forward roof- panel.
18
18 - Contemplating my next direction...
19
19 - Still without the hull...
20
20 - But all ready to roll across the neighbourhood!
21
21 - The "old" muzzle brake attempt and other MB materials on the platform in the front.
22
22 - On the left is the cardboard mock-up of the turret-bin used for fitting tests.
23
23 - After another hard day in the "office"!
24
24 - Loaders hatch and his covered episcope.
25
25 - The organized "mess" of my shed.
26
26 - On the left is a board with various Zimmerit-paste experiments applied.
27
27 - Later when the MB is fitted-with the long barrel, and the bin-it all takes up all of the length of my shed!
28
28 - Jiggy guarding her grown-up "cub"!
29
29 - Above the cupola with episcopes and browpad fitted.
30
30 - Jiggy contemplates the jumps distance...
31
31 - Initial block of polystyrene for the MB, rounded and fitted on my old lathe.
32
32 - Shaping the block for the internal MB "core". A very messy operation!
33
33 - The outside MB profile after initial shaping.
34
34 - Left-outside profile. Right-inside core.
35
35 - Initial coatings on internal core.
36
36 - After this was finished-turpentine was poured inside to dissolve the polystyrene.
37
37 - Fibre-glassing the two MB components.
38
38 - At least six layers where applied to each.
39
39 - I built a temporary wooden-stand to aid in the numerous resin coatings.
40
40 - Sand was also applied over the wet fibreglass for added strength.
41
41 - I tinted the latter coats to aid the working process.
42
42 - The still rough external MB on the stand.
43
43 - Front opening of the MB-core.
44
44 - Back opening of the MB-core. Note in the foreground are initial profile boards I made from scaled-up MB plans.
45
45 - After cutting the external profile in half and hollowing-out,it created yet another big mess !
46
46 - Halfway mark on the external profile.
47
47 - The hollow core is glued firmly inside the two outside halves.
48
48 - Internal and external components.
49
49 - A lot of test fitting, and patience was required!
50
50 - The sand over the resin proved extremely difficult to shape any further!
51
51 - A 100% alignment of the MB components had to be achieved!
52
52 - Further fibreglass coats following the fixing of the core inside.
53
53 - As the MB currently stands...
54
54 - Once the final outside profile is completed, the difficult job of making the side-openings will be attempted...